crwdns2915892:0crwdne2915892:0
Follow this guide to replace, upgrade, or customize the back shell (aka rear shell or back cover) on your Nintendo Game Boy Advance model AGB-001.
If you're completely re‑shelling your Game Boy, follow this guide.
The Game Boy Advance uses JIS screws. If you use a non-iFixit Phillips driver in JIS screws, you'll risk stripping them. iFixit's Phillips bits are designed to be compatible with JIS screws.
crwdns2942213:0crwdne2942213:0
-
-
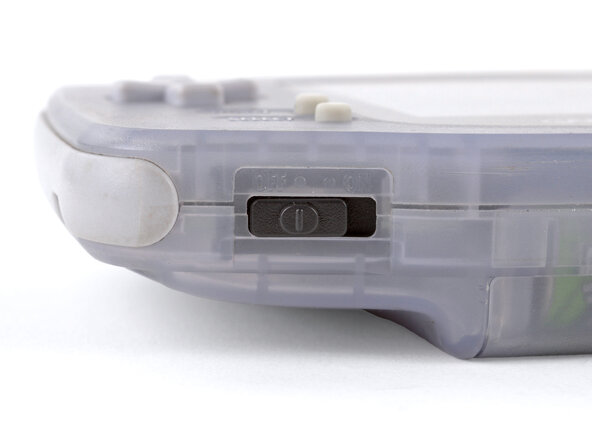
Before working on your Game Boy, turn the power switch to the OFF position and unplug any cables.
-
If you have a game cartridge installed, remove it.
-
-
-
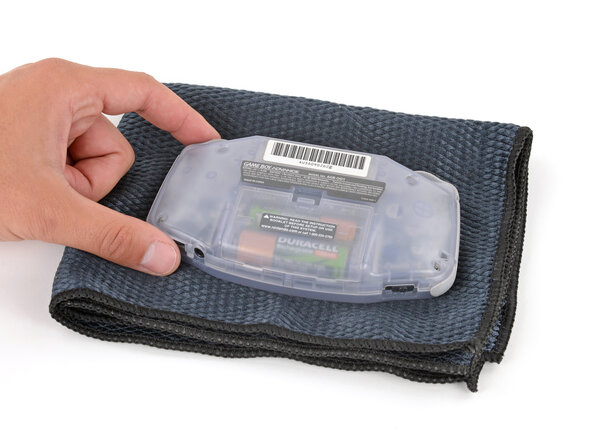
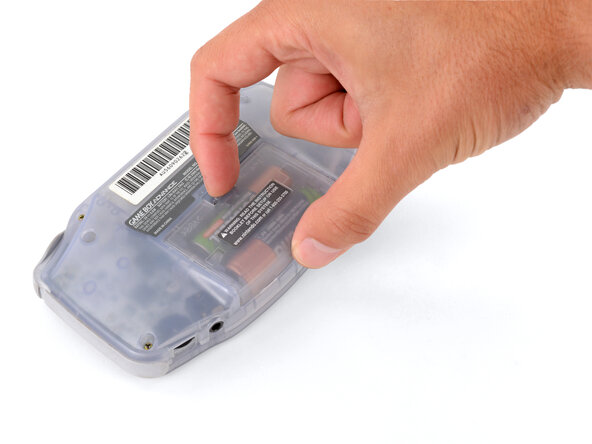
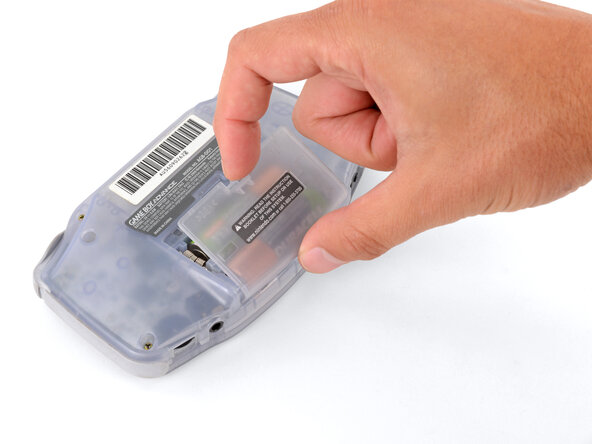
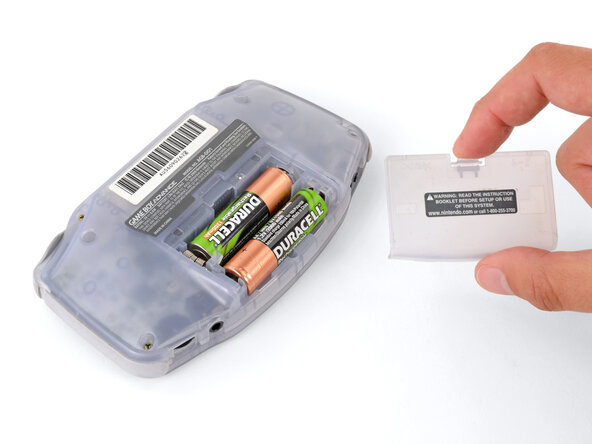
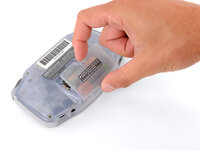
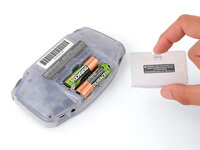
Release the battery cover tab with your finger and swing the cover away from your Game Boy to remove it.
-
-
-
-
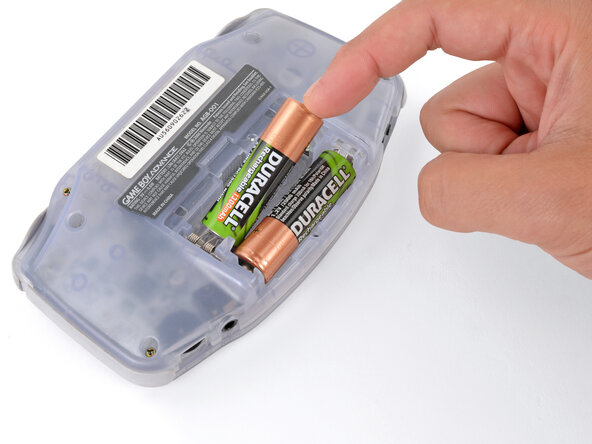
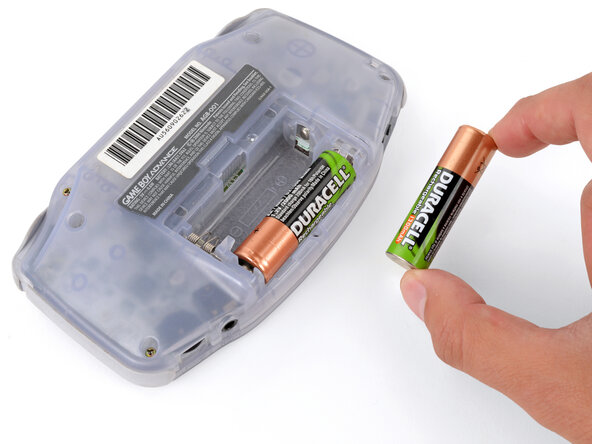
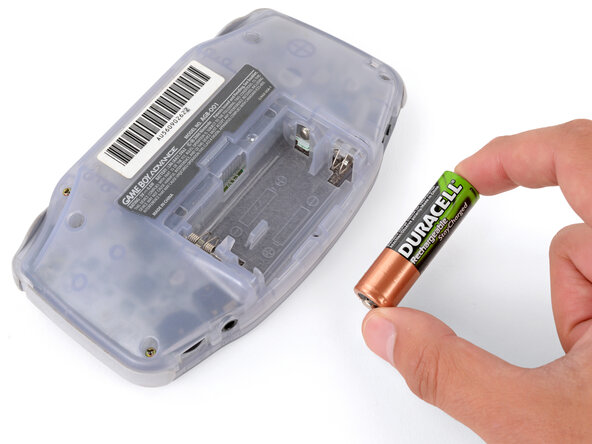
Remove the two AA batteries.
-
-
-
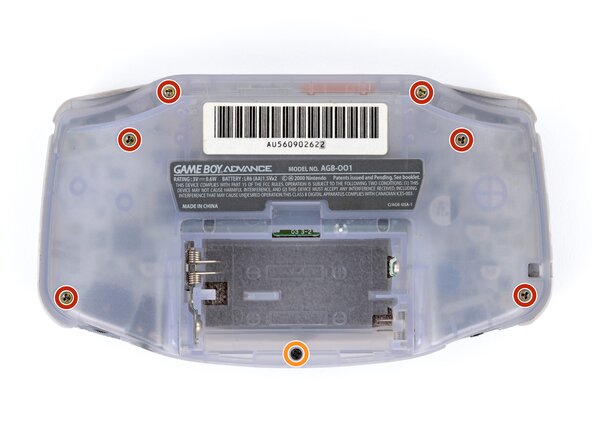
Remove the seven screws securing the back shell:
-
Six 9.4 mm‑long tri‑point Y0 screws
-
One 8.5 mm‑long JIS 1 screw
-
-
-
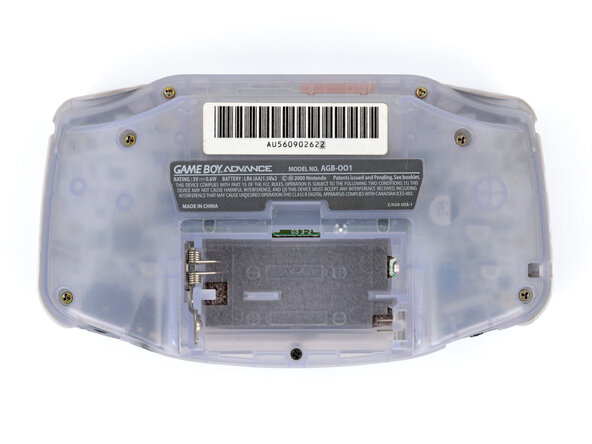
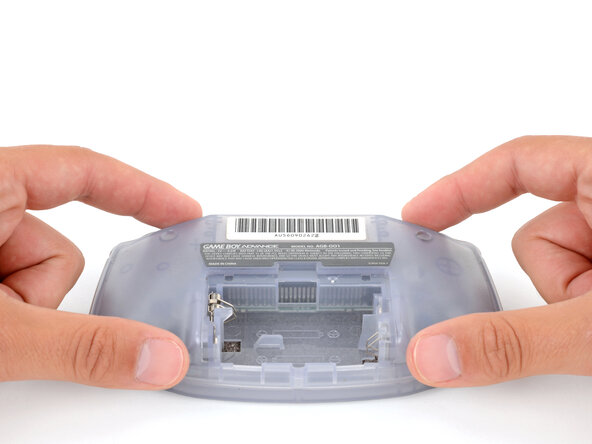
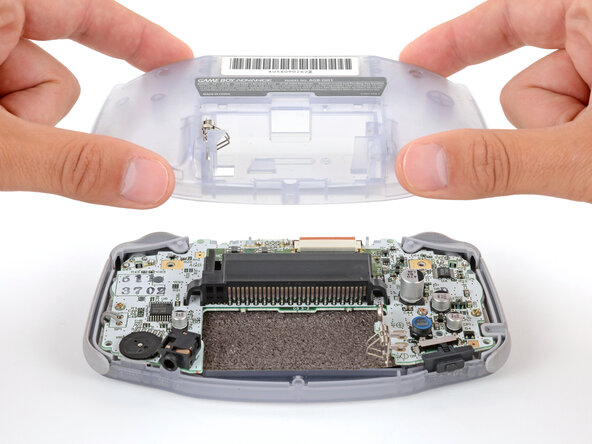
Lift the back shell straight up and remove it.
-
To reassemble your device, follow these instructions in reverse order.
Repair didn’t go as planned? Try some basic troubleshooting, or ask our Answers Community for troubleshooting help.
crwdns2935221:0crwdne2935221:0
crwdns2935229:05crwdne2935229:0
crwdns2947412:02crwdne2947412:0
Seeing the GBA-SP guide, could information here be added so we know which mm triwing screws the regular GBA backpanel uses?
We've updated the guide, and it now includes the screw measurements.
