crwdns2915892:0crwdne2915892:0
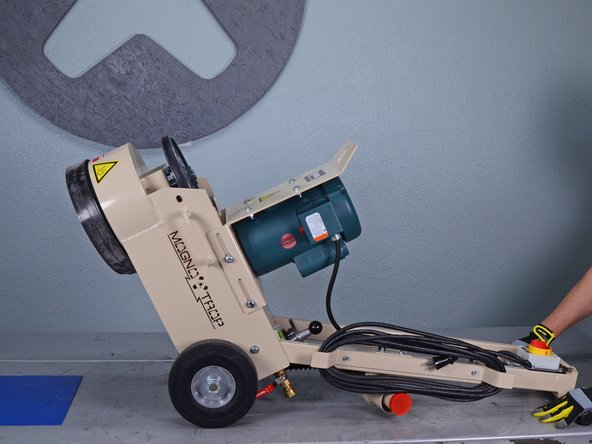
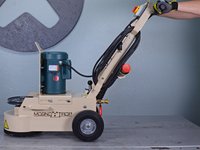
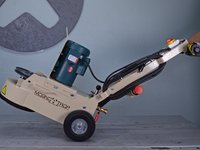
Follow this guide to replace the head assembly on a EDCO Disk Grinder model 50200-HD.
This repair requires two people.
crwdns2942213:0crwdne2942213:0
-
-
Ensure the machine is unplugged.
-
Turn the power switch counterclockwise into the OFF position.
-
-
-
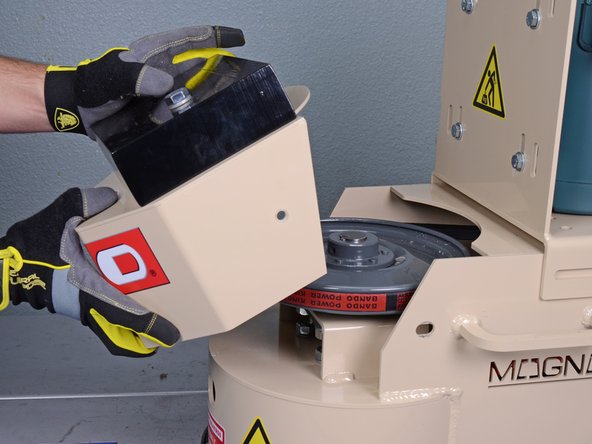
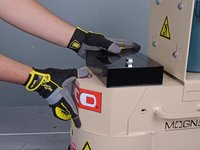
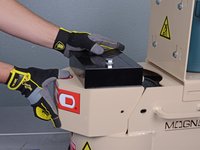
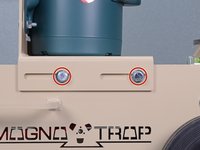
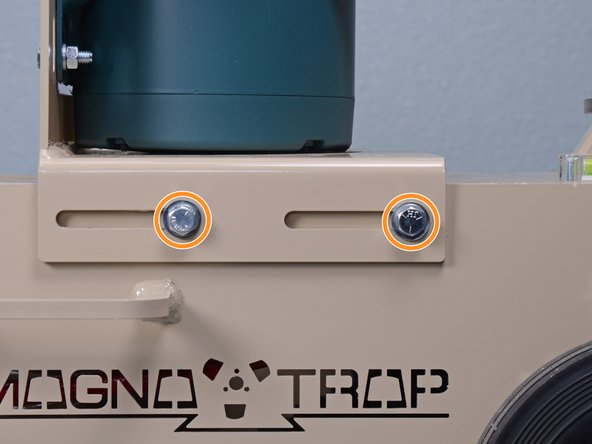
Use a 9/16 inch socket to remove the two bolts securing the weighted hood.
-
-
-
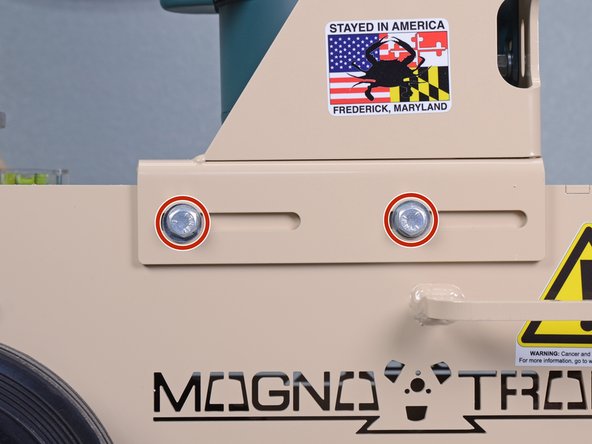
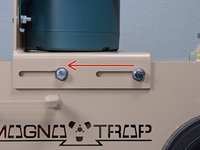
Use a 9/16 inch socket to loosen the bolts securing the motor mount.
-
-
-
Slide the motor towards the front of the machine as far as it will go to loosen the belt tension.
-
Use a 9/16 inch socket to tighten the four bolts back down to lock the motor in a position where there's the least belt tension.
-
-
-
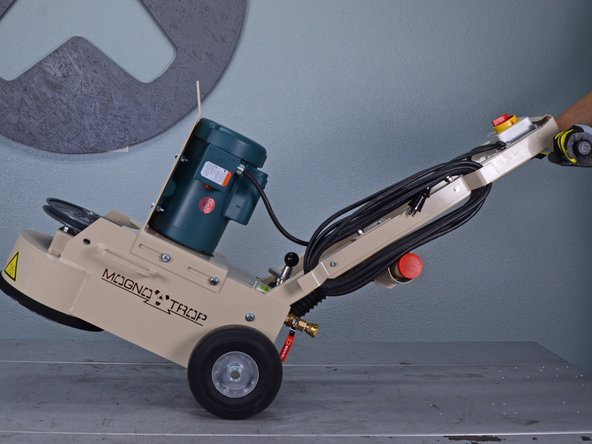
Tilt the front of the machine up and rest the handlebars on the ground.
-
-
-
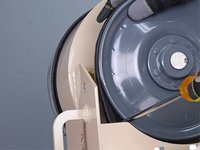
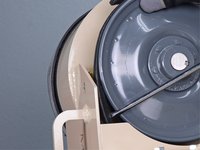
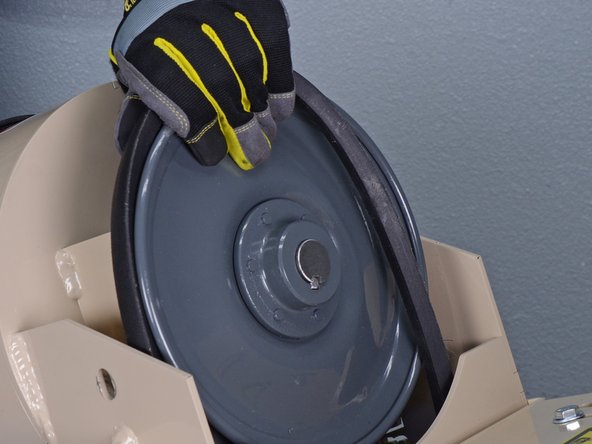
Pinch a flathead screwdriver between the belt and sheave.
-
Rotate the sheave and pivot the belt up and away from its groove.
-
-
-
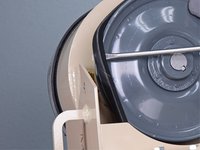
Continue to rotate the sheave with once hand while holding the flathead screwdriver with the other to fully dislodge the belt from the groove.
-
-
-
-
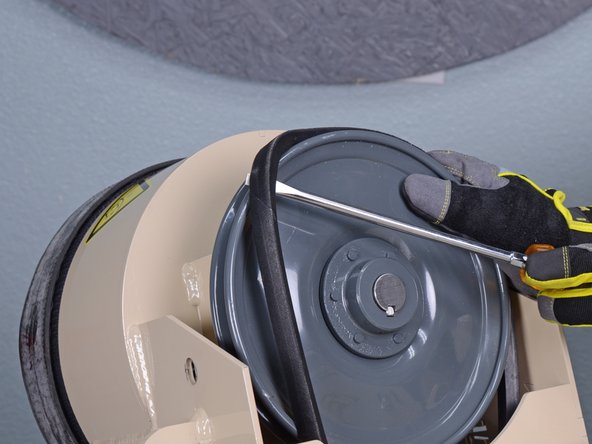
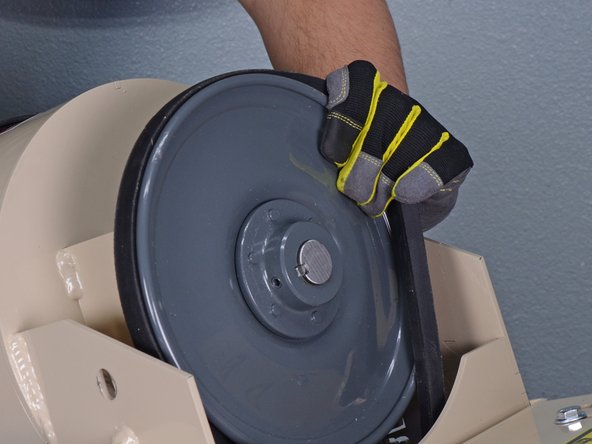
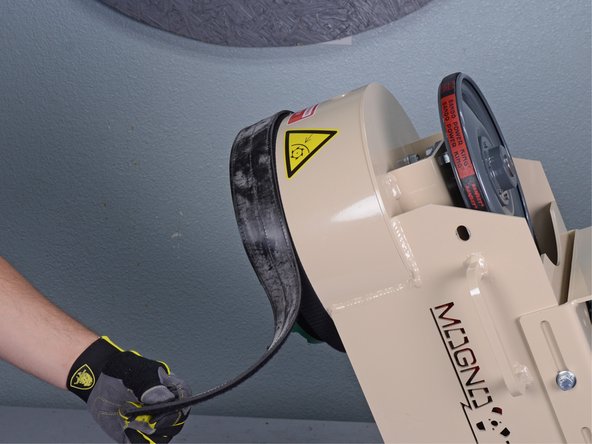
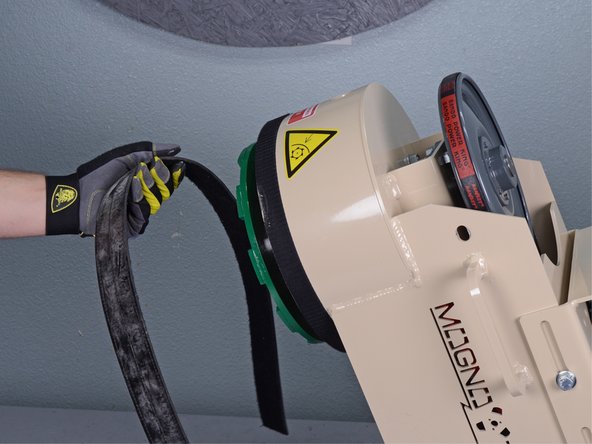
Remove the belt from the motor pulley, then fully remove it from the machine.
-
-
-
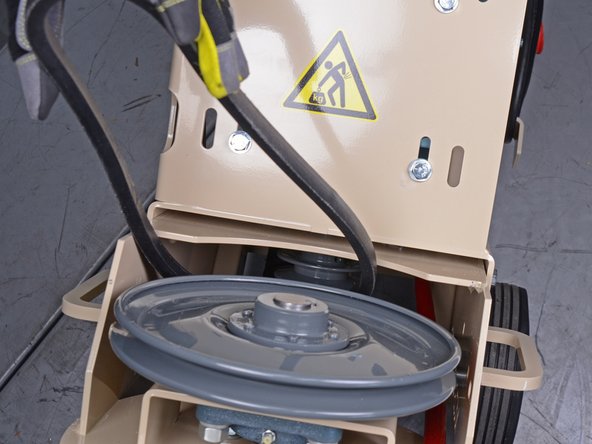
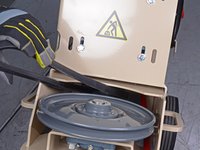
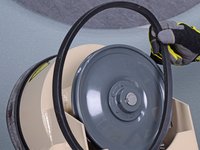
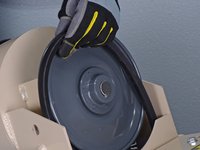
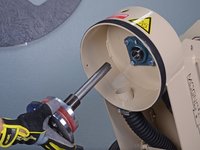
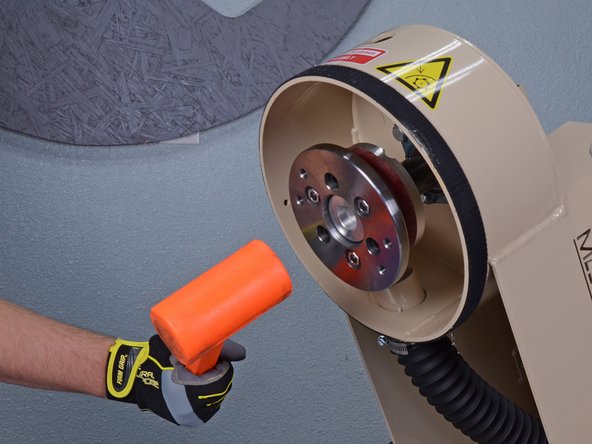
Remove the rubber skirt surrounding the disk head.
-
-
-
Tilt the machine back into working position.
-
-
-
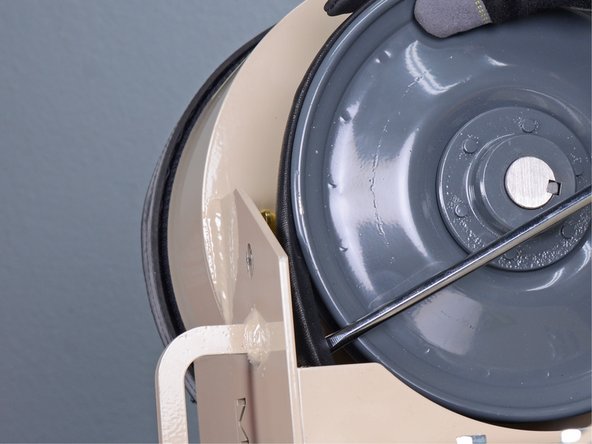
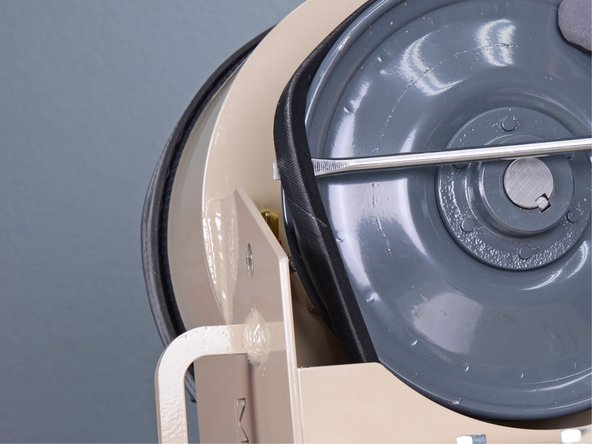
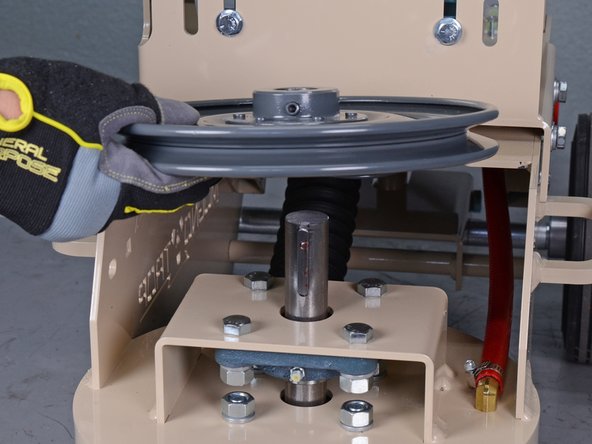
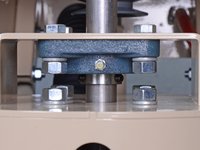
Use a 5/32 inch hex wrench to loosen the set screw securing the sheave to the head assembly shaft.
-
-
-
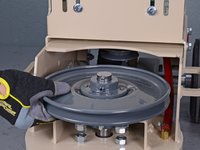
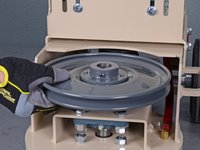
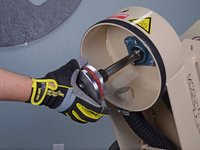
Lift the sheave straight up off of the head assembly shaft.
I’m having a hard time taking mine off. It won’t slip out. The wheel on mine seems to be upside down compared to this one. Maybe mine is an older model? Idk how to remove it without damaging it. Please help
-
-
-
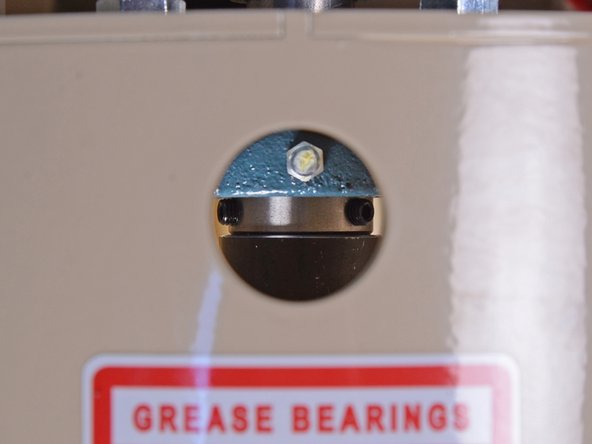
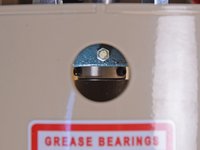
Remove the key from the head assembly shaft.
-
-
-
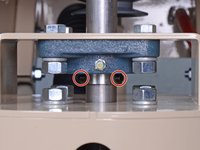
Use a 5/32 inch hex bit with an extension to loosen the two set screws securing the head assembly shaft to the upper bearing.
-
-
-
Use a 5/32 inch hex bit with an extension to loosen the two set screws securing the head assembly shaft to the lower bearing.
-
-
-
Tilt the front of the machine up off the ground.
-
-
-
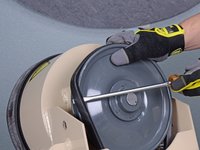
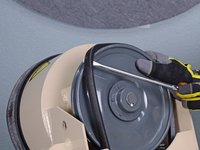
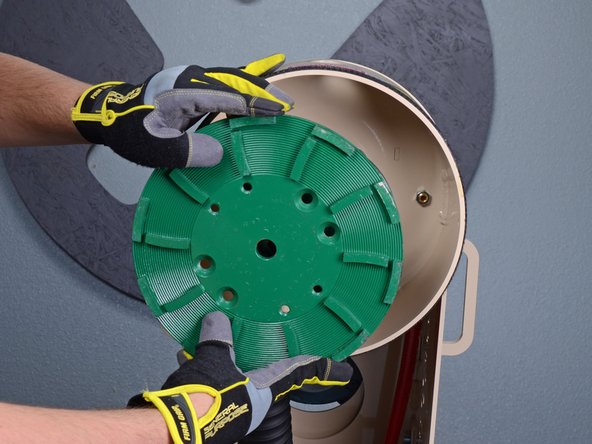
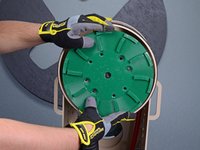
Use a 7/32 inch hex key to remove the four flat screws securing the disk to the head assembly.
This step is a lot harder than it is described. The blade rotates freely and the small amounts of concrete powder that works it's way into those holes makes it very difficult to remove. Can you provide tips for removing the blade after its been used please?
I used a Husky H4480 1/2in. Pneumatic Impact Wrench with a 3/8in. Drive Socket type 7/32in. Allen-Hex Drive with a 1/2in. to 3/8in. adapter. They came right out on the lowest power setting. :)
DAVE -
-
-
-
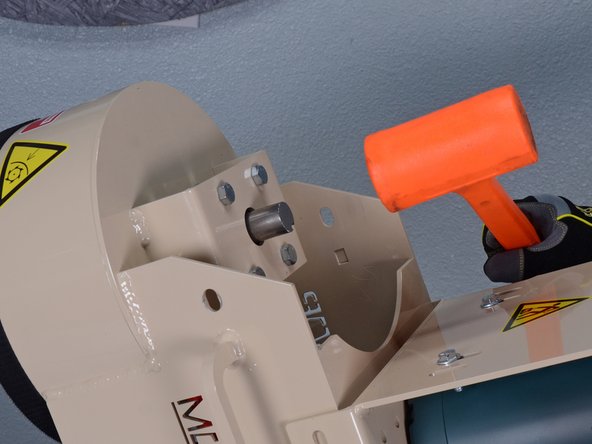
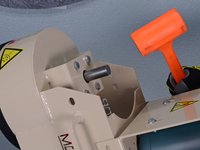
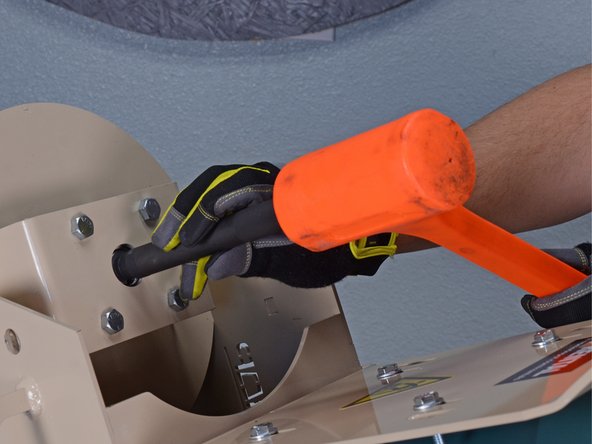
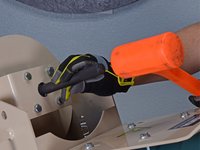
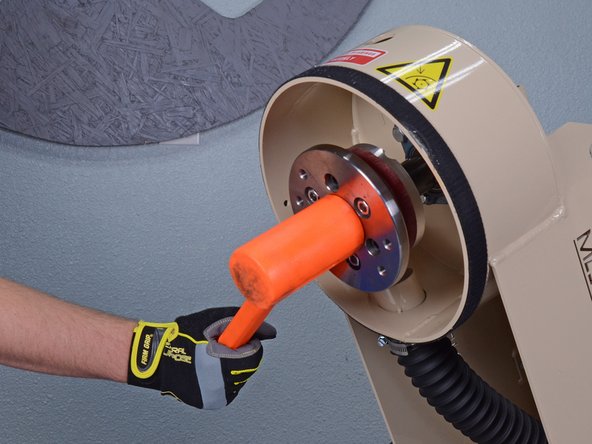
Use a dead blow hammer to hit the head assembly shaft straight down until it is flush with the upper bearing bracket, or as far as it will go.
-
-
-
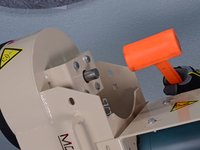
Use an appropriately-sized punch to knock the head assembly the rest of the way out.
-
-
-
Insert the new head assembly up into the bearing as far as you can by hand.
-
Use a dead blow hammer to knock the head assembly up into the machine until there is no play in the shaft spacer.
-


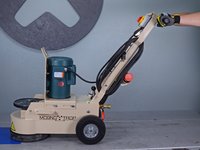


To reassemble your device, follow these instructions in reverse order.
To reassemble your device, follow these instructions in reverse order.
crwdns2935221:0crwdne2935221:0
crwdns2935229:05crwdne2935229:0

crwdns2947410:01crwdne2947410:0
i have a leveler nob that feels seized. any advise would help