crwdns2915892:0crwdne2915892:0
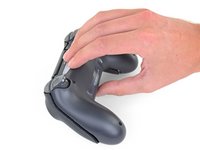
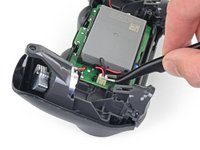
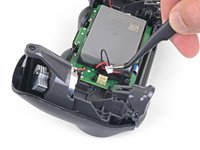
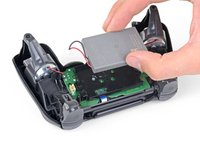
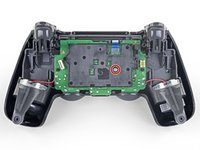
Follow this guide to replace the joystick covers on a Sony DualShock 4 CUH-ZCT2 PlayStation controller.
crwdns2942213:0crwdne2942213:0
-
-
Use a Phillips screwdriver to remove the four 6.4 mm-long screws from the rear panel.
-
-
-
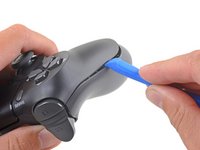
Insert an opening tool into the crease where the front and rear panel meet, starting from the outside edge of either handle.
-
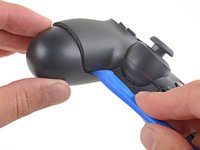
Gently pry the rear panel off of the front panel until they become partially separated.
-
-
-
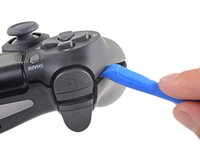
Use the opening tool to separate the panels by releasing the plastic clips around the perimeter of the controller.
-
-
-
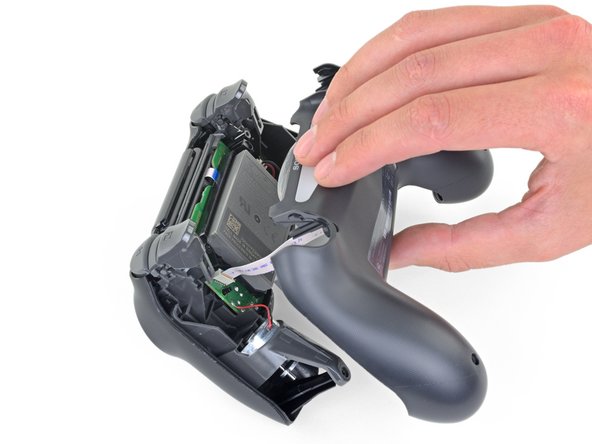
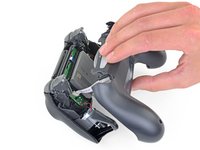
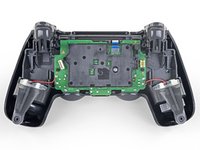
Lift the rear panel directly away from the controller.
-
-
crwdns2935267:0crwdne2935267:0Tweezers$4.99
-
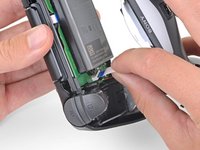
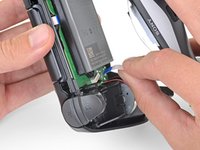
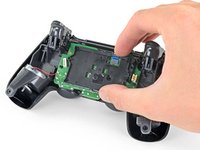
Use your fingers to gently pull the ribbon cable straight out of its connector on the motherboard.
-
-
-
crwdns2935267:0crwdne2935267:0Tweezers$4.99
-
Use a pair of tweezers to pull the battery's power connector straight up from the motherboard.
-
-
-
Use a Phillips screwdriver to remove the 6.4 mm-long screw securing the battery bracket.
-
-
crwdns2935267:0crwdne2935267:0Tweezers$4.99
-
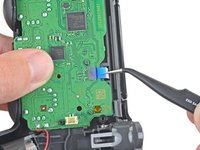
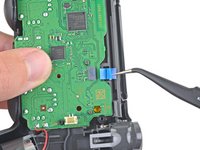
Use a pair of tweezers to disconnect the touch panel ribbon cable.
-
-
-
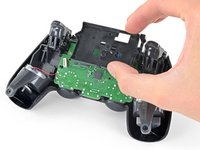
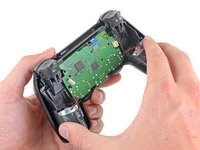
Separate the motherboard and midframe assembly from the front panel.
-
-
-
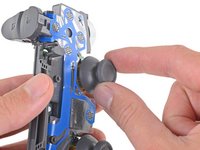
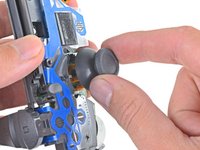
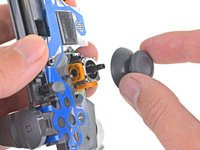
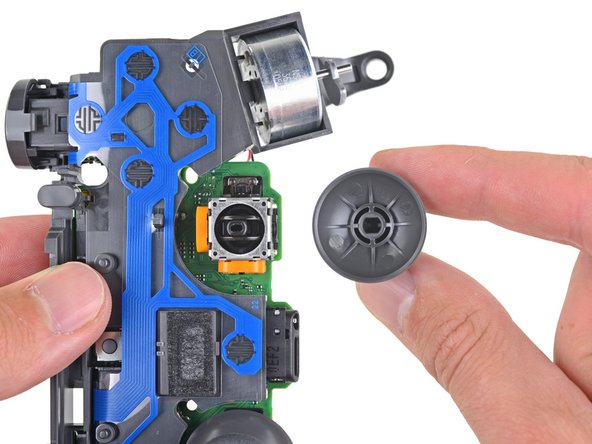
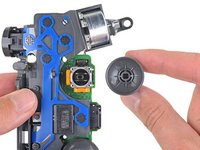
Pull the right joystick cover straight off the joystick module to remove it.
-
-
-
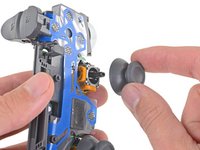
Pull the left joystick cover straight off the joystick module to remove it.
-
To reassemble your device, follow the above steps in reverse order.
Repair didn’t go as planned? Check out our Answers community for troubleshooting help.
crwdns2935221:0crwdne2935221:0
crwdns2935229:037crwdne2935229:0
crwdns2947412:03crwdne2947412:0
Are you able to replace the actual joystick with a diffrent one or are we only able to switch out covers?
this is a good point, i was wondering this as well
Kyeler W -
Super pratiques merci beaucoup pour se site Web


