crwdns2933423:0crwdne2933423:0

DualShock 4 CHU-ZCT2U Rear Panel Replacement

crwdns2942213:0crwdne2942213:0

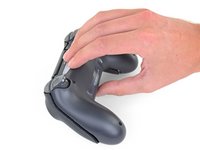
  1. DualShock 4 CHU-ZCT2U Rear Panel Replacement, Remove the rear panel screws: crwdns2935265:01crwdnd2935265:01crwdnd2935265:02crwdne2935265:0 DualShock 4 CHU-ZCT2U Rear Panel Replacement, Remove the rear panel screws: crwdns2935265:01crwdnd2935265:02crwdnd2935265:02crwdne2935265:0
    • Use a Phillips screwdriver to remove the four 6.4 mm-long screws from the rear panel.

  2. DualShock 4 CHU-ZCT2U Rear Panel Replacement, Separate the rear panel: crwdns2935265:02crwdnd2935265:01crwdnd2935265:02crwdne2935265:0 DualShock 4 CHU-ZCT2U Rear Panel Replacement, Separate the rear panel: crwdns2935265:02crwdnd2935265:02crwdnd2935265:02crwdne2935265:0
    • Four fragile plastic clips hold the panels together. You can see their locations more clearly in this guide.

    • The clips help hold the seams together. If you break these clips, the controller will still work.

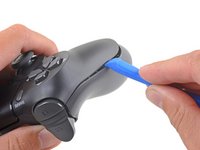
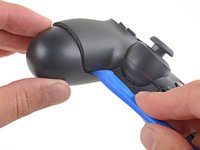
    • Insert an opening tool into the crease where the front and rear panel meet, starting from the outside edge of either handle.

    • Gently pry the rear panel off of the front panel until they become partially separated.

  3. DualShock 4 CHU-ZCT2U Rear Panel Replacement, Release the plastic clips: crwdns2935265:03crwdnd2935265:01crwdnd2935265:03crwdne2935265:0 DualShock 4 CHU-ZCT2U Rear Panel Replacement, Release the plastic clips: crwdns2935265:03crwdnd2935265:02crwdnd2935265:03crwdne2935265:0 DualShock 4 CHU-ZCT2U Rear Panel Replacement, Release the plastic clips: crwdns2935265:03crwdnd2935265:03crwdnd2935265:03crwdne2935265:0
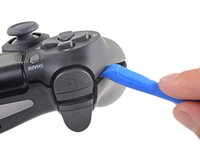
    • Use the opening tool to separate the panels by releasing the plastic clips around the perimeter of the controller.

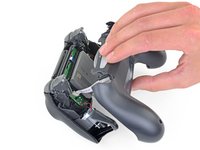
  4. DualShock 4 CHU-ZCT2U Rear Panel Replacement, Remove the rear panel: crwdns2935265:04crwdnd2935265:01crwdnd2935265:02crwdne2935265:0 DualShock 4 CHU-ZCT2U Rear Panel Replacement, Remove the rear panel: crwdns2935265:04crwdnd2935265:02crwdnd2935265:02crwdne2935265:0
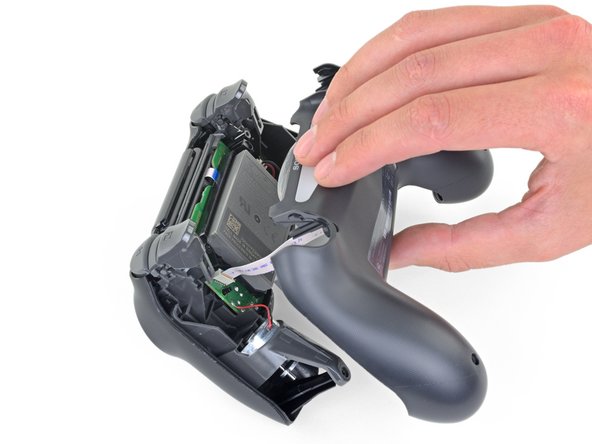
    • Lift the rear panel directly away from the controller.

    • Do not completely remove the rear panel. It is still attached to the controller by a ribbon cable.

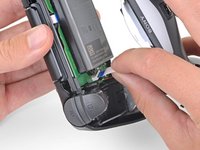
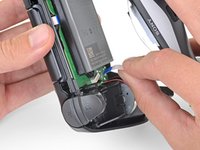
  5. DualShock 4 CHU-ZCT2U Rear Panel Replacement: crwdns2935265:05crwdnd2935265:01crwdnd2935265:02crwdne2935265:0 DualShock 4 CHU-ZCT2U Rear Panel Replacement: crwdns2935265:05crwdnd2935265:02crwdnd2935265:02crwdne2935265:0
    • Use your fingers to gently pull the ribbon cable straight out of its connector on the motherboard.

    • Since this cable's pull tab is too small to grab with fingers or tweezers, grab the cable itself. Otherwise utilize pull tabs whenever possible.

    • During reassembly, grab the ribbon cable by the blue tab and gently press the cable straight into the connector. Push the blue tab rather than the ribbon cable itself.

crwdns2915888:0crwdne2915888:0

To reassemble your device, follow the above steps in reverse order.

Repair didn’t go as planned? Check out our Answers community for troubleshooting help.

crwdns2935229:02crwdne2935229:0

Sam Omiotek

crwdns2935283:002/25/19crwdne2935283:0

72,571 crwdns2915208:0crwdne2915208:0

crwdns2935297:0288crwdne2935297:0

crwdns2944067:00crwdne2944067:0

crwdns2917038:0crwdne2917038:0

crwdns2936625:0crwdne2936625:0:

crwdns2936751:024crwdne2936751:0 0

crwdns2936753:07crwdne2936753:0 10

crwdns2936753:030crwdne2936753:0 80

crwdns2942667:0crwdne2942667:0 2,625