crwdns2915892:0crwdne2915892:0
Use this guide to rebuild or repair a faulty regulator on a Dewalt Air Compressor DWFP55126 2016.
When performing this rebuild, make sure to use the correct regulator rebuild kit. The processes are the same, but the components vary slightly. Use part numbers 5140147-52 or 5140147-53 depending on the manufacturing location.
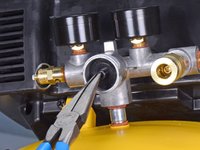
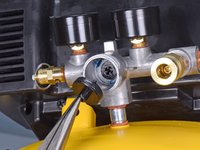
The manifold cover screw is deeply recessed and requires a T10 driver with a long shank in order to reach.
Make sure to completely depressurize the air compressor tank before performing any repairs.
crwdns2942213:0crwdne2942213:0
-
-
Use a long-shank T10 driver to remove the manifold cover screw.
-
Lift the cover directly up off of the gauges to remove.
-
-
-
Twist the regulator control knob counterclockwise. When you feel resistance, continue to twist to break the knob free.
-
Remove the knob.
-
-
-
Remove the spring from inside the regulator control knob.
-
-
-
-
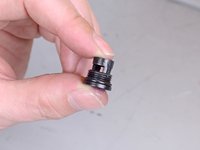
Use needle nose pliers to remove the fitting.
-
-
-
Use a Phillips #1 screwdriver to unscrew the pressure regulator assembly from inside the manifold.
-
Use needle nose pliers to remove the regulator assembly.
-
-
-
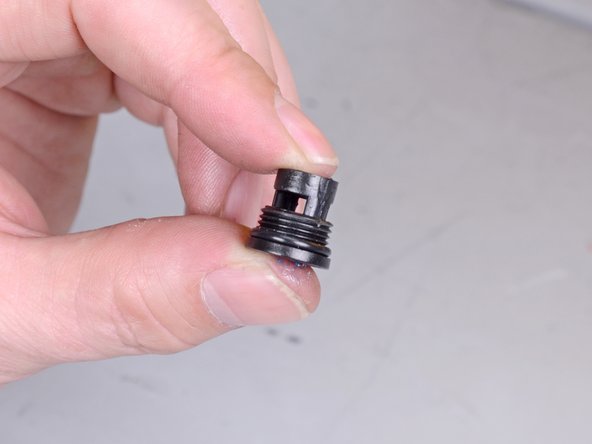
Install the new o-ring on the new screw fitting by sliding it over the threads. Make sure it sits flush on the head of the screw fitting, directly above the threads.
Q what is the role and procedure on the semi-circular spring? I have both kits,(-52, and -53) not sure if the original spring blew out, the original plastic tip of the round disc was damaged initially.
mine is a CMEC6150 type 1 pancake ," proudly made in usa " Craftsman, 2019, and I will need to search if the original spring is "round" or "square"
or still in its groove, ( if spring is there, does it need removal first ?..also wish for assembly diagram which craftsman doesn't seem to have on line, not all you tubers have the same exact design ,
some even have a back entrance to load the small reg spring in .Otherwise, mine looks a lot like this demo. regulator in center, and 2 outlets on the right
-
-
-
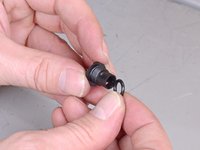
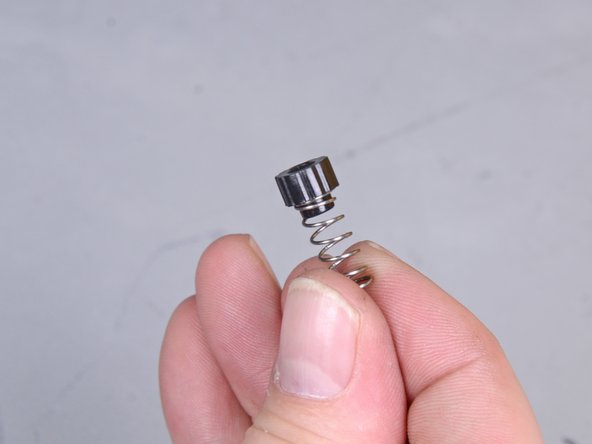
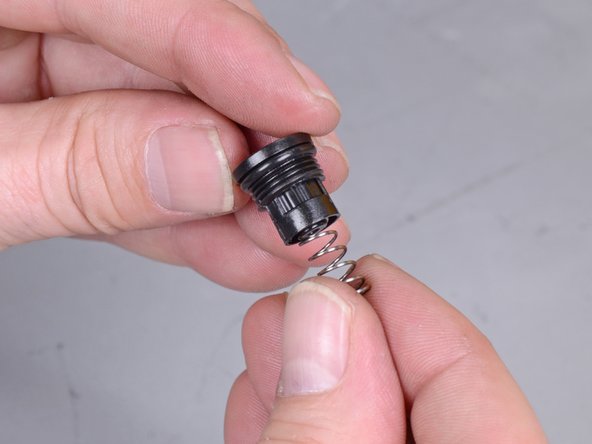
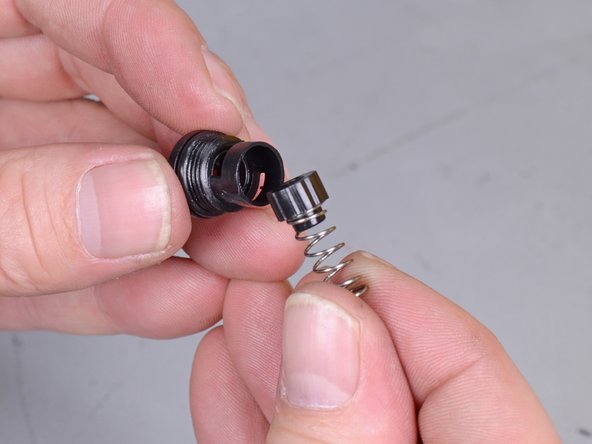
Seat the narrow end of the new cap into one end of the new spring.
-
-
-
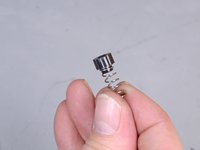
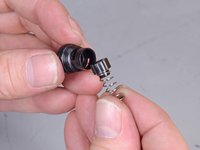
Slide the cap and spring, cap first, into the opening on the screw fitting to complete the new regulator internals.
How can I tell which repair kit to use? This part is too vague:
“Use part numbers 5140147-52 or 5140147-53 depending on the manufacturing location.”
Thanks! I used the instructions to repair a DWFP55130 compressor. I did not use the kit as they don’t have one for my compresssor. In my case, the small spring had completely corroded. I replaced it with a similar enough spring and it’s working great now!
-


To reassemble your device, follow these instructions in reverse order.
To reassemble your device, follow these instructions in reverse order.
crwdns2935221:0crwdne2935221:0
crwdns2935229:02crwdne2935229:0


crwdns2947412:03crwdne2947412:0
Perfecto... buena ilustracion y mejor explicación.Gracias.
Any instructions for the Type 2 regulator?
My regulator does not have a gauge. It only has a "min/max" knob. Will this kit work?