
Astro A40 Gen2 Speaker Replacement
crwdns2944109:0crwdnd2944109:0Donavan Felizcrwdnd2944109:0crwdnd2944109:0crwdnd2944109:0crwdne2944109:0
crwdns2944111:0Mud 30, 2022crwdne2944111:0
crwdns2915892:0crwdne2915892:0
crwdns2942287:0crwdne2942287:0In this step we will be removing all parts necessary to reach the speaker inside each headset. Remember that you can repeat these same steps for each side of the headset if either side needs replacement.
crwdns2942213:0crwdne2942213:0
crwdns2943215:0crwdne2943215:0


crwdns2944105:0crwdne2944105:0
-
-
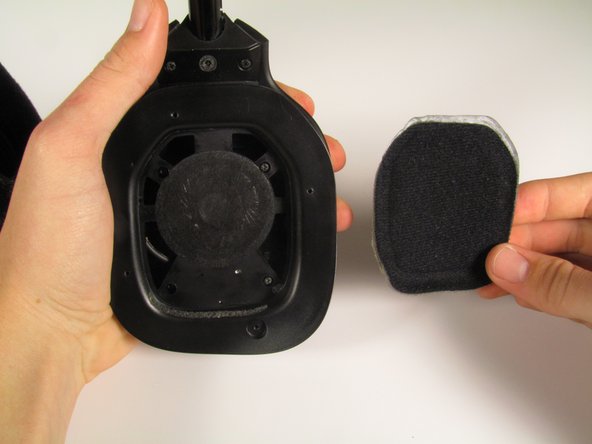
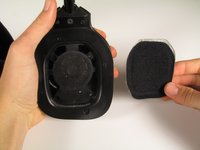
Pull one corner of the pad to release it from the headset.
-
Pull the rest of the ear pad off.
-
-
-
Locate the four 4.5 mm Philips #0 screws on the panel shown.
-
Remove them using a Phillips #0 head screwdriver.
-
Remove the panel.
-
-
-
Using either your fingers or a plastic opening tool, pry off the speaker cover.
-
-
-
Locate the four 4.5 mm Philips #0 screws as shown on the speaker housing.
-
Remove the four screws using a Phillips #0 head screwdriver.
-
-
-
Remove the housing to reveal the speaker.
-


To reassemble your device, follow these instructions in reverse order.
To reassemble your device, follow these instructions in reverse order.
crwdns2935221:0crwdne2935221:0
crwdns2935227:0crwdne2935227:0
crwdns2915084:0crwdne2915084:0
Cal Poly, Team 20-18, Maness Winter 2015 crwdns2935289:0Cal Poly, Team 20-18, Maness Winter 2015crwdne2935289:0
CPSU-MANESS-W15S20G18
crwdns2931471:04crwdne2931471:0
crwdns2935297:010crwdne2935297:0
crwdns2947412:02crwdne2947412:0
Where do you buy the replacement speaker ? Thanks.
what speakers can these be replaced with? this guide is a little short on details about the actual removal and replacement of the speakers. the information here is just the start
This is removal only.
Note, I had to glue mine back on… Don’t follow this guide! :(
Toby Cook - crwdns2934203:0crwdne2934203:0