crwdns2915892:0crwdne2915892:0
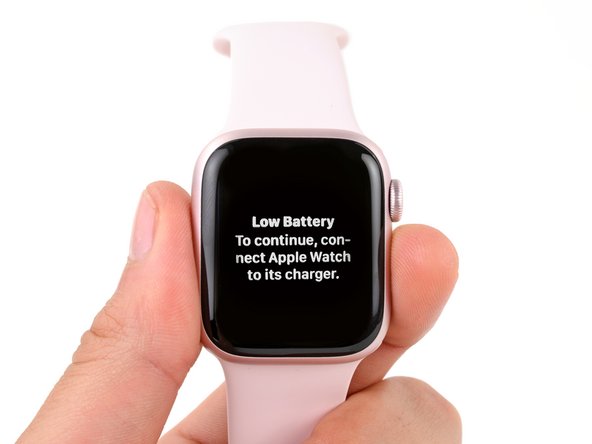
Prerequisite only guide for opening up the Apple Watch Series 10.
crwdns2942213:0crwdne2942213:0
-
-
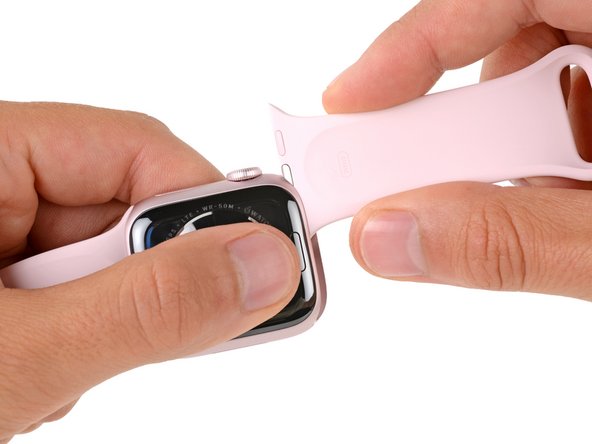
Attach and remove the watch bands as needed to get a better grip or stabilize your watch.
-
To remove a band, firmly press in the small, oval button on the underside of the watch and slide the band out of its groove.
-
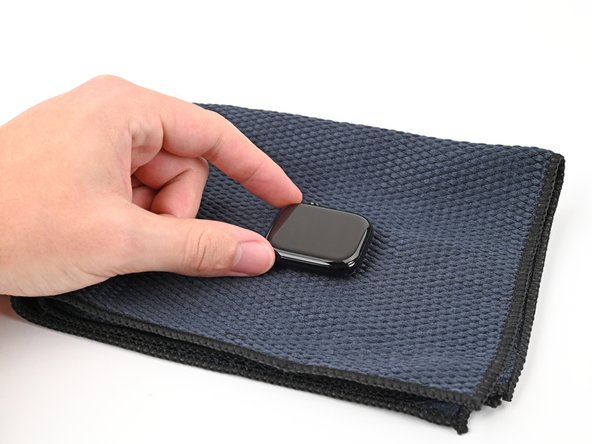
Consider placing your watch on something soft like a clean cloth to help stabilize it and prevent damage.
-
-
-
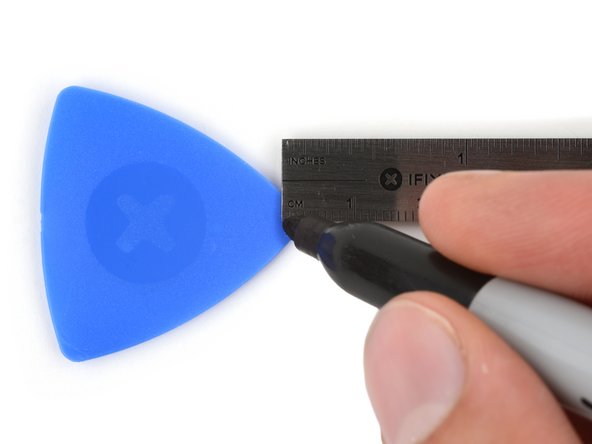
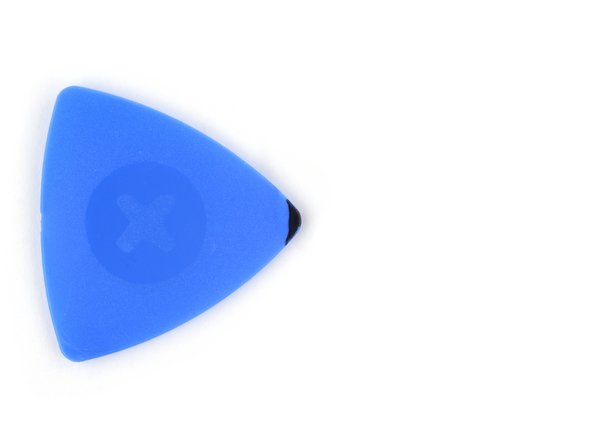
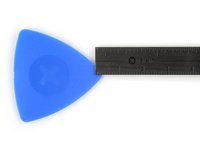
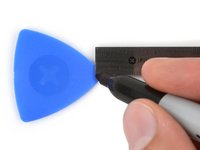
Measure 3 mm from the tip and mark the opening pick with a permanent marker.
-
-
-
Heat an iOpener and lay it on the screen for two minutes to soften its adhesive.
-
-
-
crwdns2935267:0crwdne2935267:0iFlex Opening Tool$11.99
-
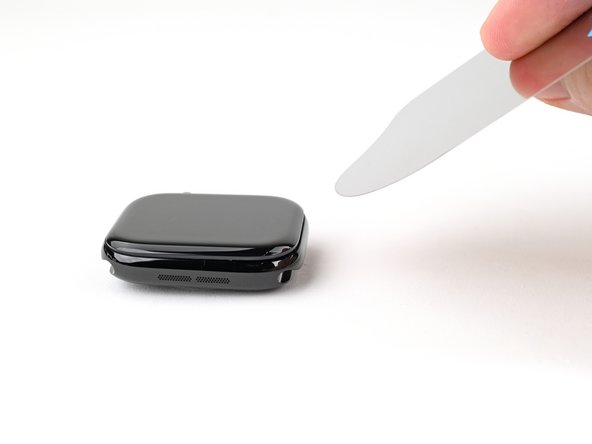
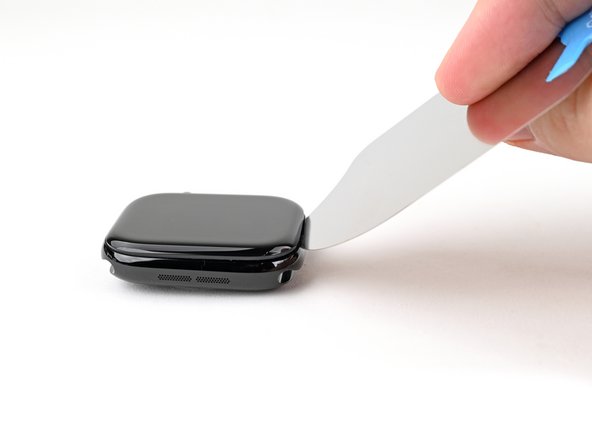
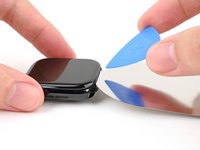
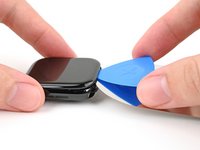
Insert the iFlex at a downward angle between the bottom edge of the screen and frame.
-
-
-
With one hand, push down firmly on the watch's frame to secure it in place.
-
With your free hand, hold the iFlex and push the edges up to make it more rigid.
-
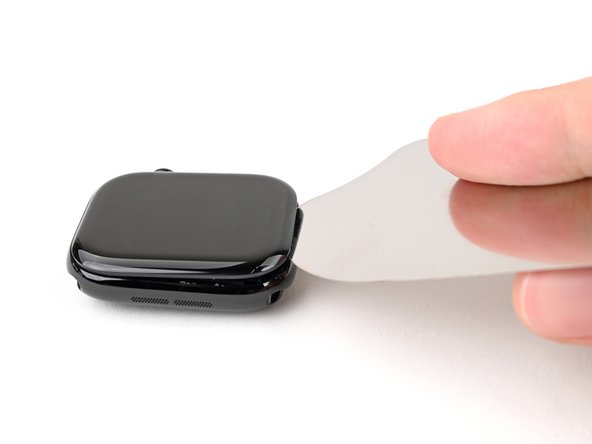
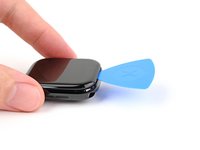
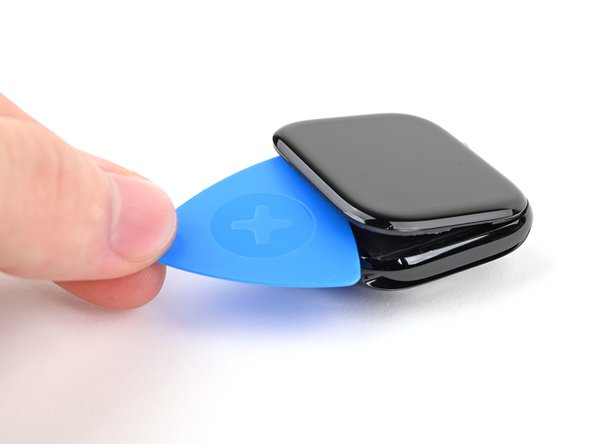
Pry up the screen enough for the iFlex to lay flat on its own.
-
Leave the iFlex inserted under the screen.
-
-
-
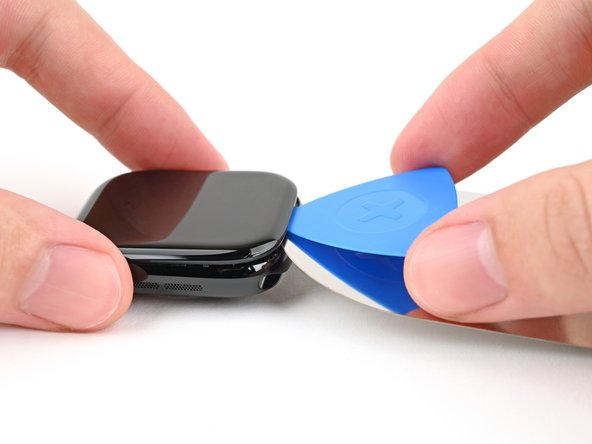
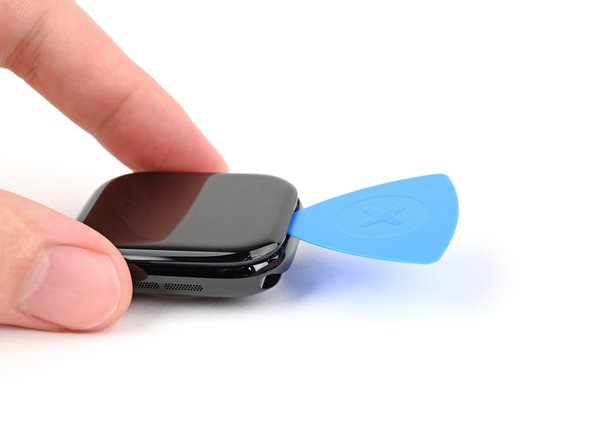
Keep the iFlex flat to maintain a gap between the screen and frame while inserting an opening pick.
-
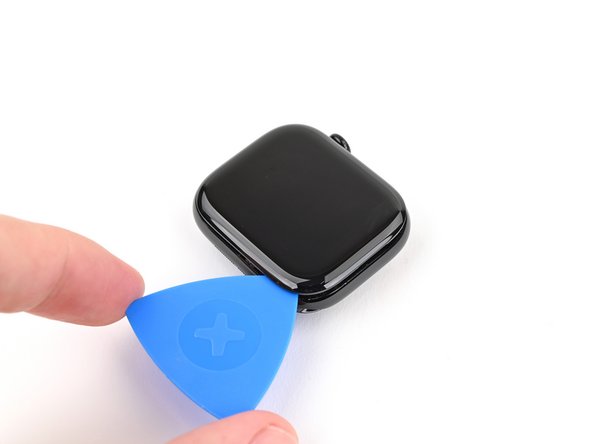
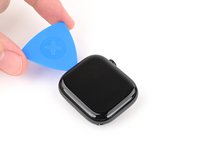
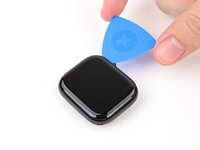
Insert an opening pick between the screen and iFlex.
-
Remove the iFlex.
-
-
-
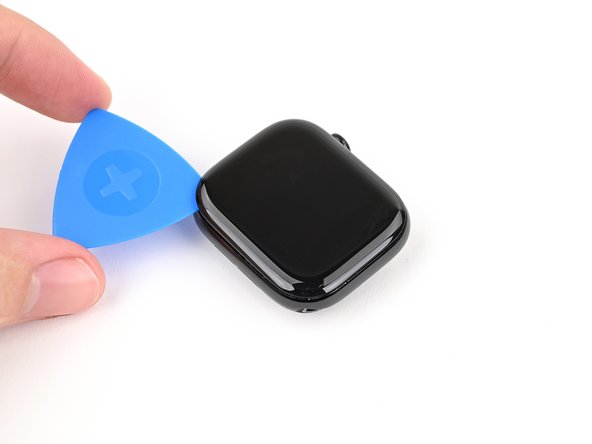
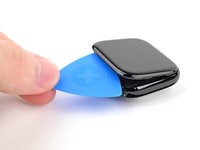
Slide the opening pick around the bottom left corner and up the left edge.
-
-
-
Continue sliding your pick along the top edge and around the top right corner, stopping just after the digital crown.
-
-
-
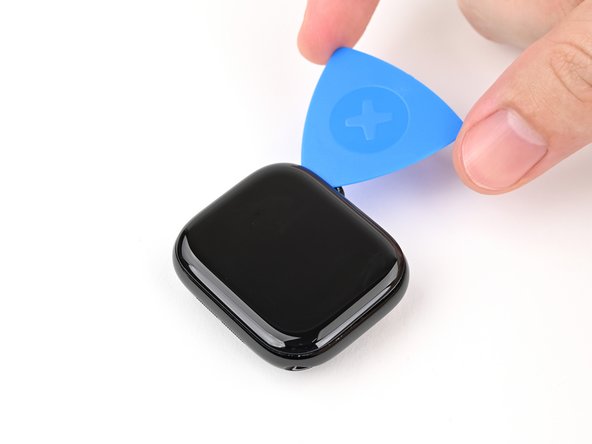
Insert the long edge of an opening pick between the left edge of the screen and frame.
-
Twist the pick to lift the screen and separate any remaining adhesive.
-
-
-
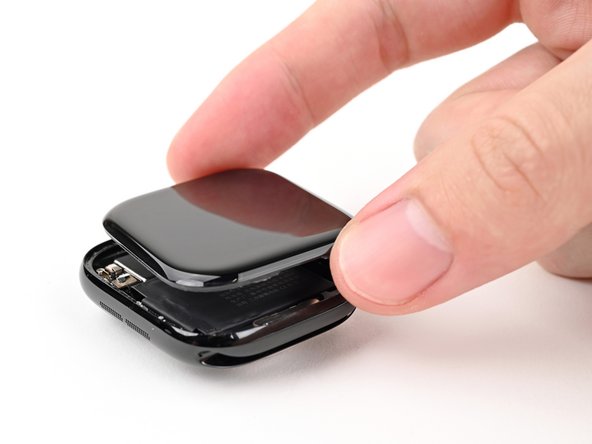
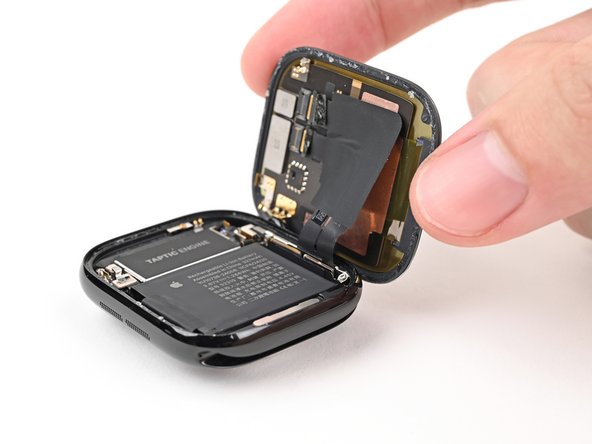
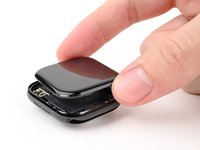
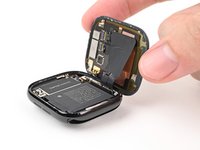
Pull the right edge of the screen over the digital crown.
-
Swing up the left edge of the screen so it's upright. The screen should be to the right of the digital crown.
-
This is a good point to plug in your watch and test all functions before sealing it up. Be sure to power it back down completely before you continue working.
-
Follow this guide to apply new screen adhesive and reseal your watch.
-
To reassemble your device, follow these instructions in reverse order.
To reassemble your device, follow these instructions in reverse order.

