crwdns2915892:0crwdne2915892:0
Are you experiencing noise distortion and reduced sound quality in your device? If so, follow this guide to help replace the driver in your Anker Soundcore Space One headphones.
A headphone driver is the transducer element responsible for converting electrical signals into sound waves. It typically consists of a diaphragm that moves to create sound, and it plays a crucial role in determining the overall sound quality of headphones. A failing driver can cause your device to have distorted or unbalanced sound, loss of bass response, and muffled sound in general.
Before using this guide, make sure to review the troubleshooting page about audio distortion. There could be many other easy-to-fix things in this device that don't require changing the driver.
crwdns2942213:0crwdne2942213:0
-
-
Flip over the device so the ear pads face up.
-
-
-
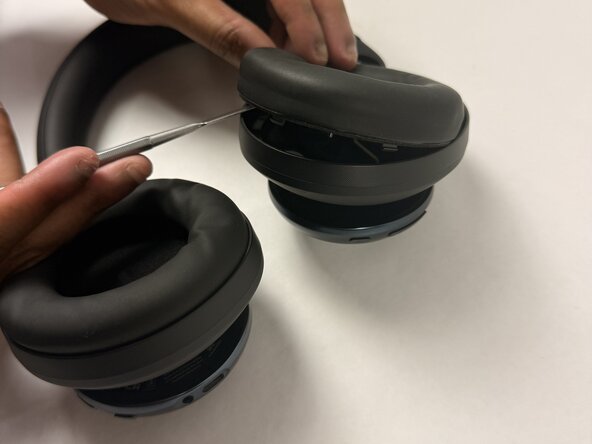
Insert a spudger (plastic or metal) between the ear pad and the driver housing (the driver housing is the outside plastic part of ear cup).
-
Pry around the ear pad in a circular path until it fully releases.
-
-
-
Remove the ear pad from the driver housing.
-
-
-
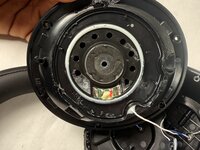
Position the inside of the driver housing facing up (without the ear pad).
-
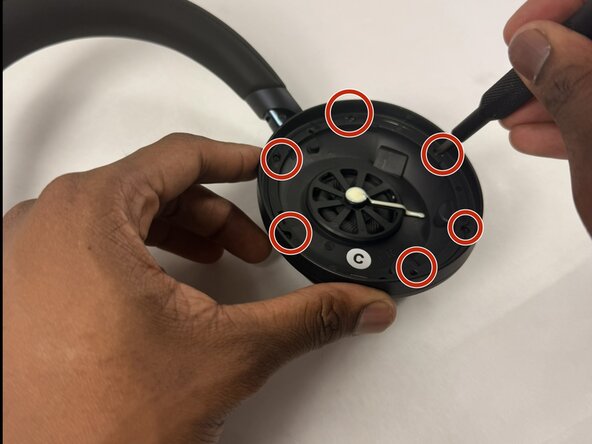
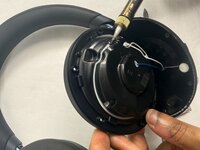
Find the six 6.1 mm Philips #00 screws inside the ear cup's driver housing.
-
Unscrew the six 6.1 mm Phillips #00 screws from the driver housing.
-
-
-
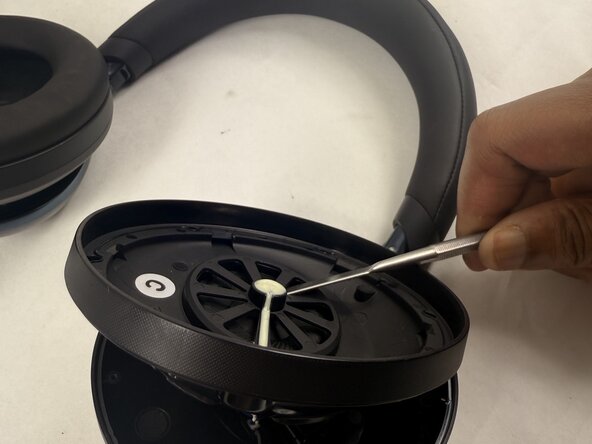
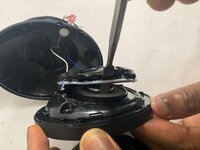
Pry around the interior plate of driver housing with a spudger.
-
Lift out the interior plate of the driver housing with a spudger carefully to fully remove.
-
-
-
Flip the popped-off plate component away from the ear cup.
-
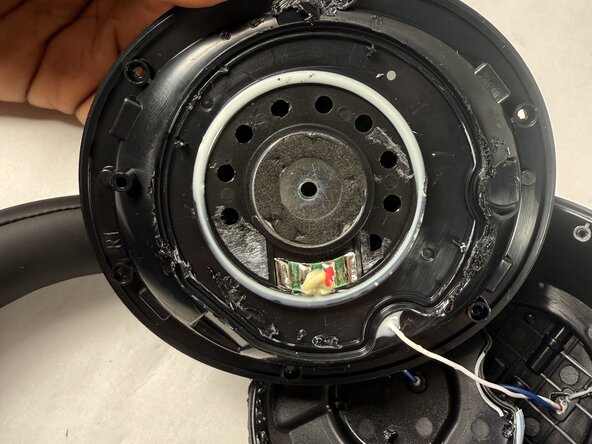
Use soldering iron in a circular path along with the seam of the glue (white lining) to separate the two components that are glued together.
-
Pop of this component once it has detached from the glue (a spudger may be needed for this).
-
-
-
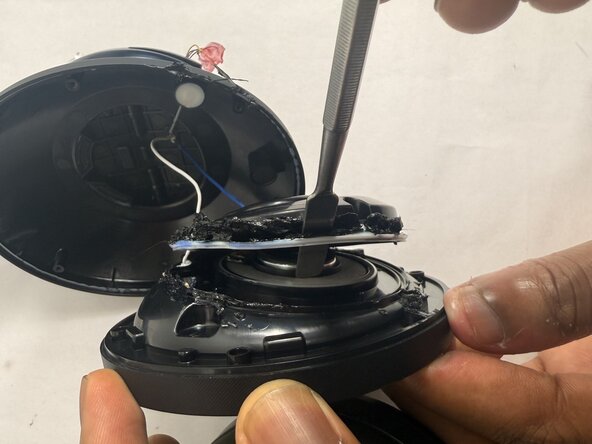
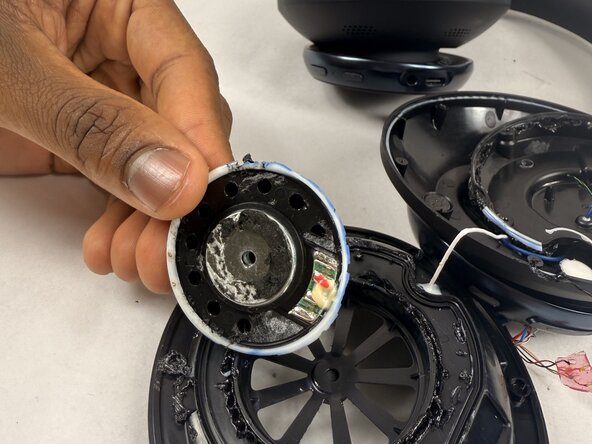
Pry the white adhesive layer around the driver component off with a spudger.
-
-
-
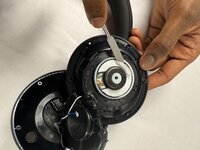
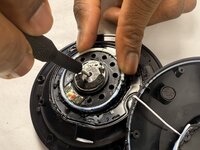
Insert a Phillips #00 screwdriver into the hole in the metal center of the actual driver.
-
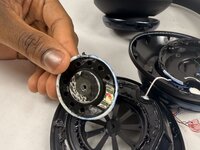
Pop off the driver component.
-
To reassemble your device, follow the above steps in reverse order.
Take your e-waste to an R2 or e-Stewards certified recycler.
Repair didn’t go as planned? Try some basic troubleshooting or ask our Answers community for help.
To reassemble your device, follow the above steps in reverse order.
Take your e-waste to an R2 or e-Stewards certified recycler.
Repair didn’t go as planned? Try some basic troubleshooting or ask our Answers community for help.


