crwdns2915892:0crwdne2915892:0
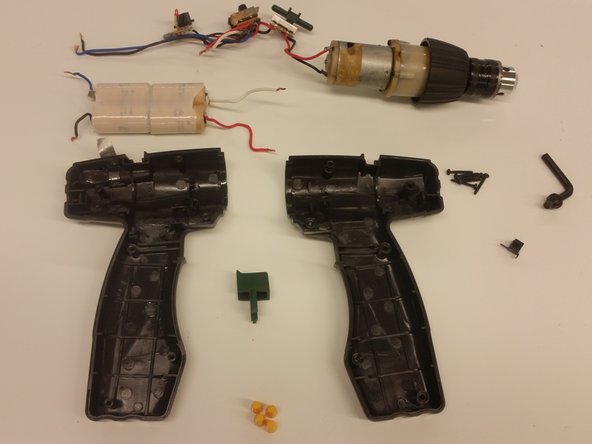
This teardown shows the disassembly of the Mastercraft 17FY2-MC Cordless Drill/Driver. The guide shows all components after disassembly and explains their functionality.
crwdns2942213:0crwdne2942213:0
-
-
Use a Phillips head screwdriver to remove the 6 screws from the casing
-
-
-
First remove the two yellow twist-on connectors from the bottom of the handle, then bend the wires away from each other to prevent accidental reconnection
-
Then remove the two yellow twist-on connectors from the top of the drill, and remove the entire battery pack
-
-
-
-
Slide the charging port, trigger switch, and direction switch out of their slots in the casing. Then remove the entire motor assembly from the casing
-
-
-
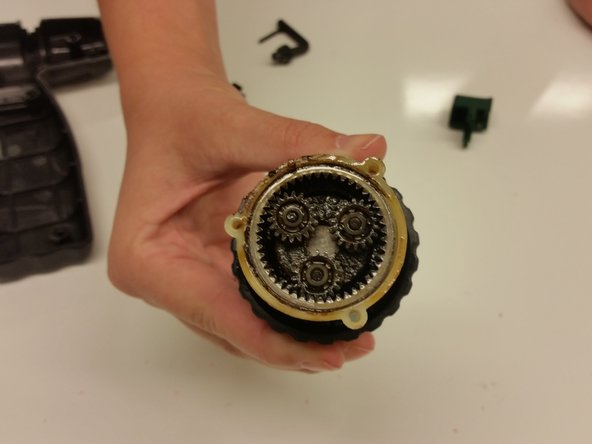
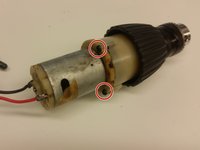
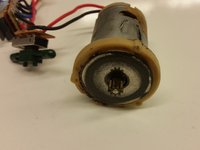
Remove three screws on the motor with a Phillips head screwdriver to disconnect the drill mechanism from the motor
-
-
-
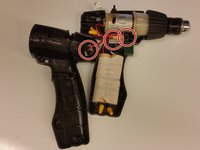
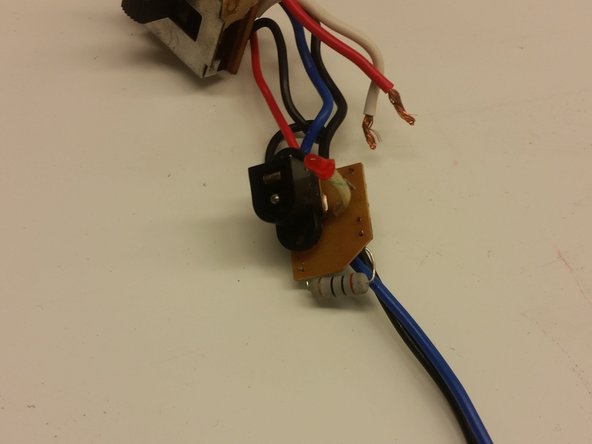
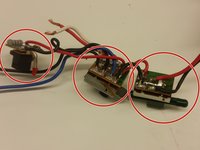
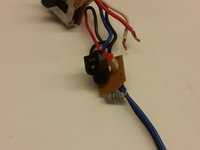
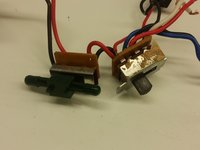
The three parts of the controlling electronics are (from left to right in the first image): the charging port, the trigger mechanism, and the direction switch.
-
-
-
This concludes the teardown of the Mastercraft 17FY2-MC Cordless Drill
-