-
-
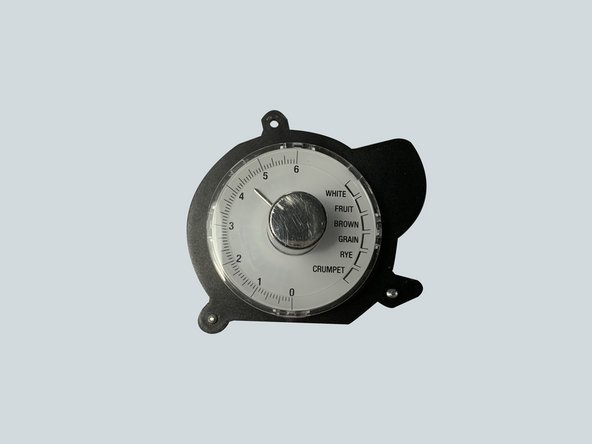
The Toast Select Luxe adjusts the toasting time for each type of bread. 'Lift & Look' to check if it's done. Press 'A Bit More' and to give it just that… a little bit more. Follow toasting progress with the LED countdown indicator. Crafted with brushed stainless steel in premium metallic finishes and chrome accents.
-
VARIABLE BROWNING CONTROL Toast to your ideal browness level while the LED indicates your browning progress.
-
INNOVATIVE AUTO FEATURES 1-Touch 'A Bit More' and 'Lift & Look' functions are derived directly from your feedback and makes for flawless toasting.
-
EASY CLEANING No need to ever lift when cleaning. Just pull out the front crumb tray and tip it into the dustbin.
-
Construction Materials:Brushed stainless steel body with back-lit buttons.
-
Dimensions (WxDxH):8.2" x 7.9" x 13.4"
-
Power:1000 Watts Voltage:120Volts, 60Hz Settings:6 Bread Settings: Wholewheat, White, Bagel, Waffles, Pastries and English Muffins 4 Functions: 'Lift & Look', 'A Bit More'/Reheat, Frozen and Cancel
-
-
-
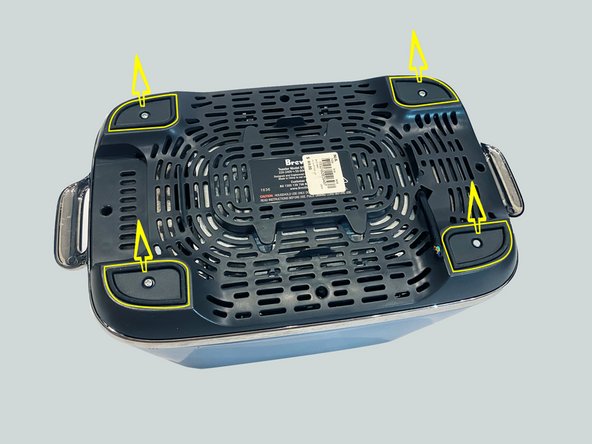
From the bottom, the bread maker has 4 screws securing two pieces of the shell.
-
Time to cut it open!First thing’s first, let’s turn over the machine, there are 4 screw in sight, therefore a screw driver is up.
-
Take a closer look after removing the screws on the bottom, we can see there are still 4 plastic pads and silicon circles that are waiting to be taken away.
-
-
-
You might notice that the shells are not apart yet, but take a closer look, it’s already loose.
-
This is when you flip it upside-down again, find the very botton on the side and take it off, a simple twist and pull will do the work.
-
-
-
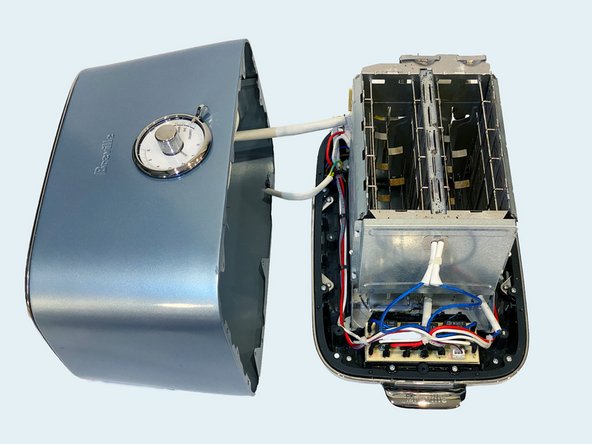
Time to get our first glimpse inside this bread maker.
-
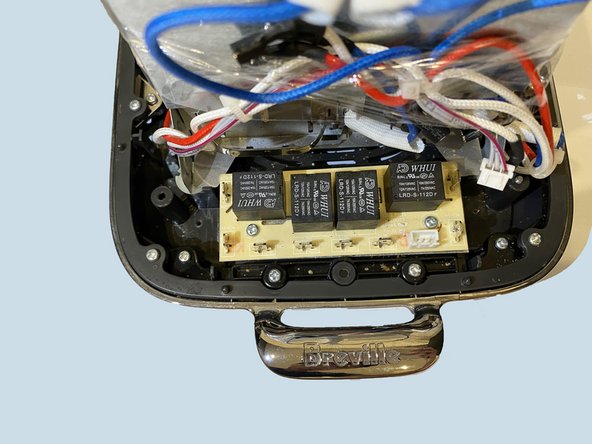
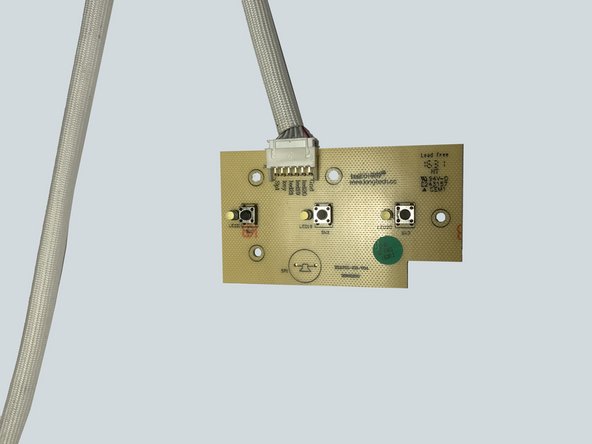
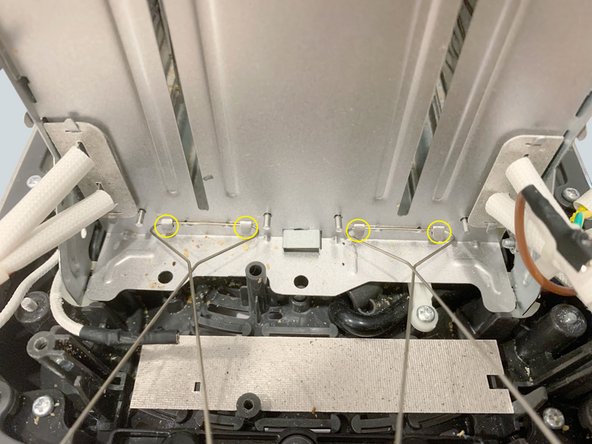
To take off the mainboard, you need a screw driver to remove those three screws.
-
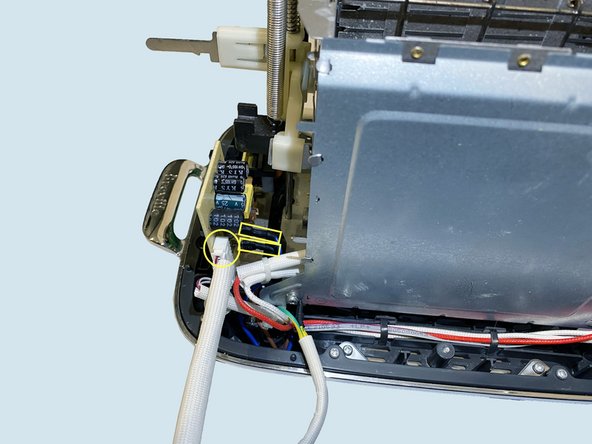
Unplug those wires highlighted in the photo.
-
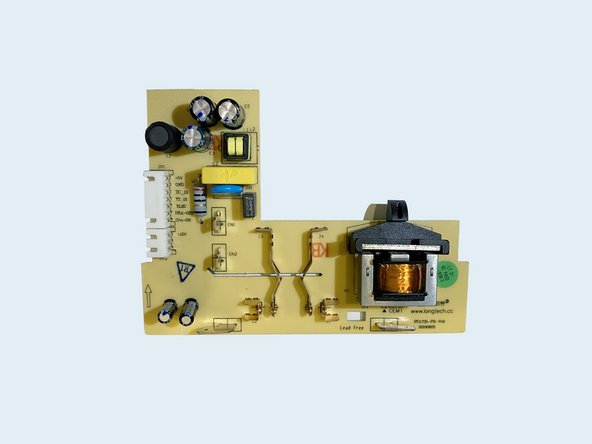
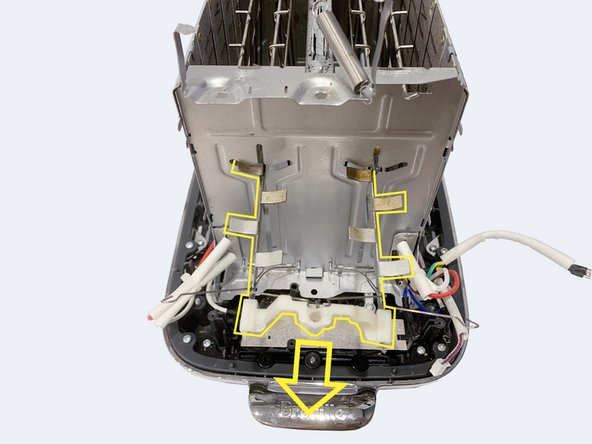
Ta-da! You successfully removed the mainboard!
-
-
-
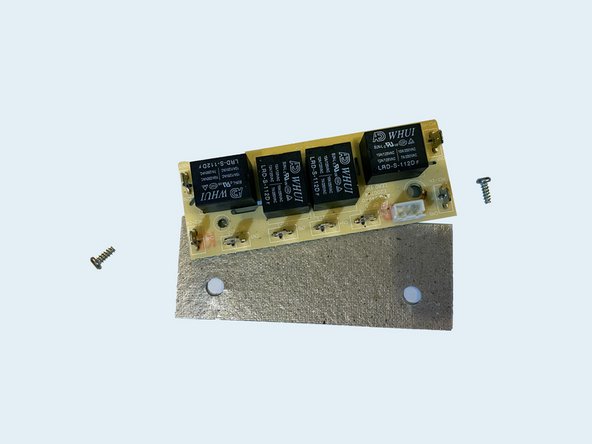
To teardown the mainboard from the other side, this is what you have to do--
-
Unplug all wires connected to it.
-
picture 2 shows how it should be like after you did the instruction above.
-
All you have to do now, is to take away the mainboard along with the metal chip beneath it.
-
-
-
-
This is the last step of taking the shell apart--cut the wire.
-
-
-
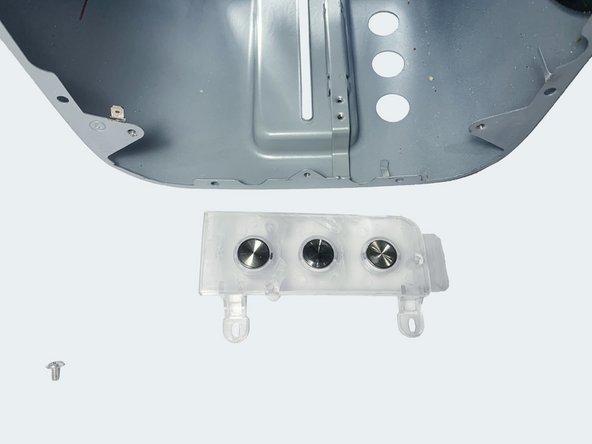
First, take off the screws like shown in the picture.
-
Then you will see a board also secured with screws——repeat your last move.
-
There you have a small board!
-
-
-
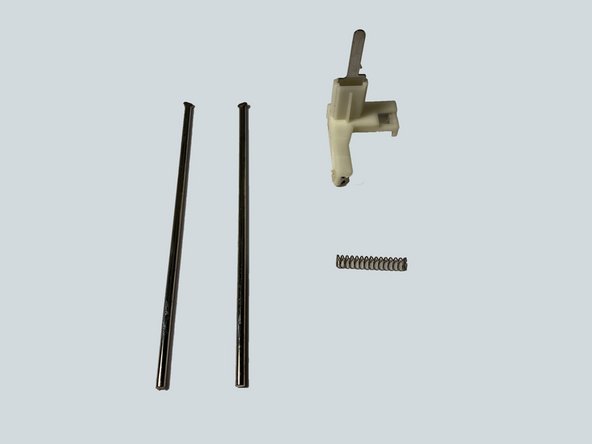
Same spot, same move—— remove three screws on top of the disc.
-
Then there you are—— a small disc!
-
-
-
Let's move on to the inside of the shell, shall we?
-
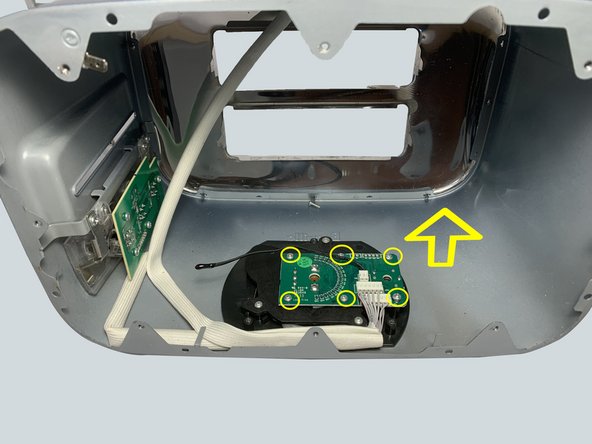
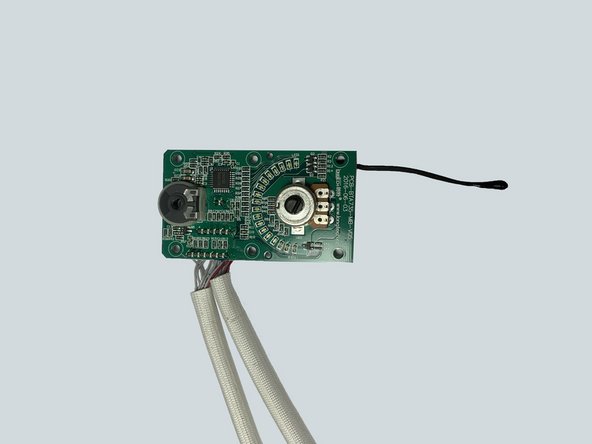
There are so many screws on this thing, huh? Let's just screw them off and take out the small board.
-
-
-
Same old same old. Screw them off and take out the transparent plastic lid.
-
-
-
bend the metal sheets shown in the picture.
-
Then you will have those small components.
-
-
-
Next, take off the clips in p1&2.
-
Generated by all the steps above, you can pull out this metal wire easily.
-
-
-
However, the last step is a lot more difficult, this is to seperate its silver machine case with its black plastic base.
-
This step requires specialised tool, for any other normally seen screw drivers/tools will easily bend the metal inside.
-
Therefore, if not necessary, don't teardown this part without specialised tools.
-


crwdns2947410:01crwdne2947410:0
Je ne sais pas de quelle origine vient l'appellation "Machine à pain" pour cet appareil, mais en France on appelle cela un grille-pain. L'appellation "Machine à pain" est destinée à un appareil qui permet de pétrir et cuire le pain ce qui est franchement différent.