


crwdns2853023:0crwdne2853023:0
The time between turning on the PS3 and having it shutdown without warning grew shorter and shorter until it wouldn't power on at all.
And then I saw the lights flash yellow.
crwdns2853024:0crwdne2853024:0
The repair was pretty staightforward, except for all of the parts where the pictures and video didn't match my machine.
I've never really done anything like this before -- I "built" a computer once but this seemed like a much higher stakes game.
I was generally nervous throughout, but I figured as long as I kept track of what screws went where and didn't hit the motherboard too hard I could at least get everything put back together.
crwdns2853025:0crwdne2853025:0
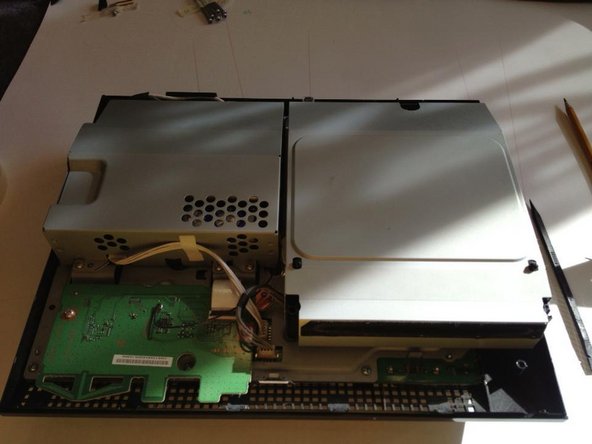
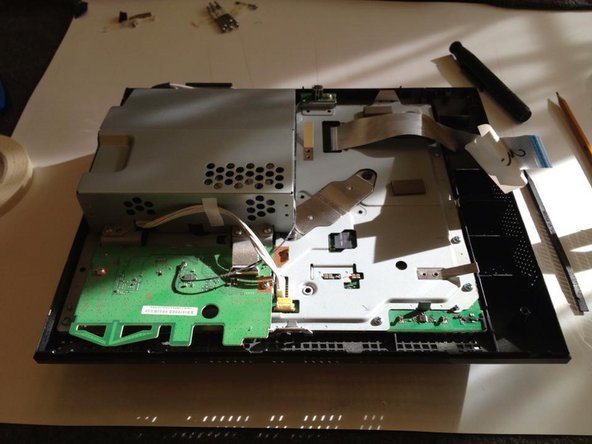
Like I said, my model didn't match up (see photos).
Actually, there were several pieces I was instructed to remove that I didn't have. Conversely there were several pieces I had to remove that weren't addressed in the instructions.
As I saw it, the goal was to get the motherboard safely freed from all other components so that it could be heated safely, without damage.
To that end, when I encountered a step that differed from the guide, I made sure I labeled all of the screws I took out and made a mental note of roughly where the removal occurred in the context of the larger process.
I kept a roll of masking tape and a Sharpie nearby and I labeled the hell out of everything. If a hole took a longer or shorter screw than all the other ones, I gave it a little label so I could reassemble things.
I also used the masking tape to label the assorted containers I used to keep the screws together.
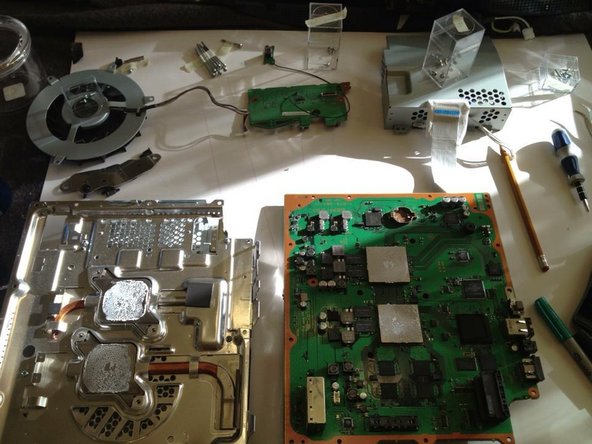
So when I took out a piece that may or may not have been the control board, I carefully disconnected any cables or plugs, unscrewed it, and set it aside with a container of screws marked "control board?".
That is the general process. Carefully unplug things, carefully unscrew stuff and then pull it out. There's only a few areas that have plastic tabs instead of screws so watch out for those.
And take your time preheating the board *and* reflowing the solder. That's the crux of the entire repair operation and there's no sense in rushing it after having been hunched over a table for two hours.

crwdns2944067:00crwdne2944067:0