crwdns2935425:01crwdne2935425:0
crwdns2931653:01crwdne2931653:0


-
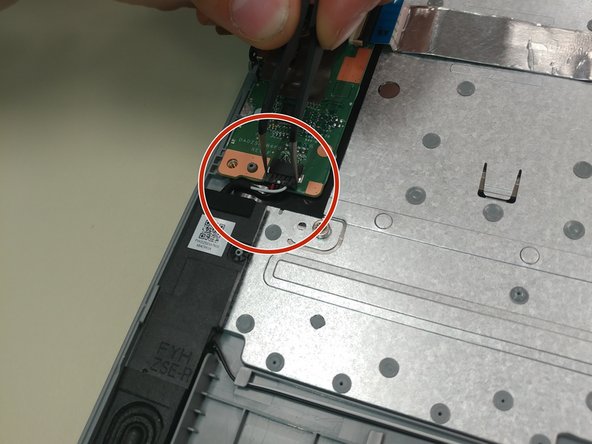
Begin by locating the speakers.
-
Once you have found where the speakers are, direct your attention to the speaker to the left of the mouse pad.
-
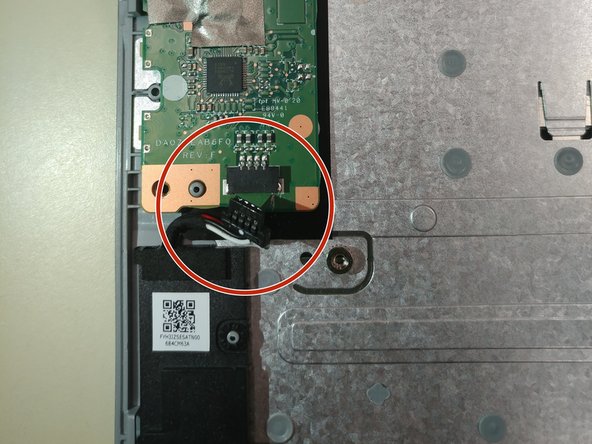
Grab your tweezers and begin disconnecting the wire that connects the speakers to the circuit board on the upper left corner.
| [* black] Begin by locating the speakers. | |
| [* black] Once you have found where the speakers are, direct your attention to the speaker to the left of the mouse pad. | |
| - | [* black] Grab your tweezers and begin disconnecting the wire that connects the speakers to the circuit board on the upper left corner. |
| + | [* black] Grab your [product|IF145-020|tweezers] and begin disconnecting the wire that connects the speakers to the circuit board on the upper left corner. |
crwdns2944171:0crwdnd2944171:0crwdnd2944171:0crwdnd2944171:0crwdne2944171:0