crwdns2933423:0crwdne2933423:0

Motorola Moto G5 Plusディスプレイアセンブリの交換

crwdns2931529:0crwdnd2931529:0crwdnd2931529:0crwdnd2931529:05crwdnd2931529:0crwdne2931529:0

crwdns2936315:0crwdne2936315:0
crwdns2936323:0crwdne2936323:0
crwdns2931653:03crwdne2931653:0
Motorola Moto G5 Plus Display Assembly Replacement: crwdns2935265:00crwdnd2935265:01crwdnd2935265:03crwdne2935265:0 Motorola Moto G5 Plus Display Assembly Replacement: crwdns2935265:00crwdnd2935265:02crwdnd2935265:03crwdne2935265:0 Motorola Moto G5 Plus Display Assembly Replacement: crwdns2935265:00crwdnd2935265:03crwdnd2935265:03crwdne2935265:0
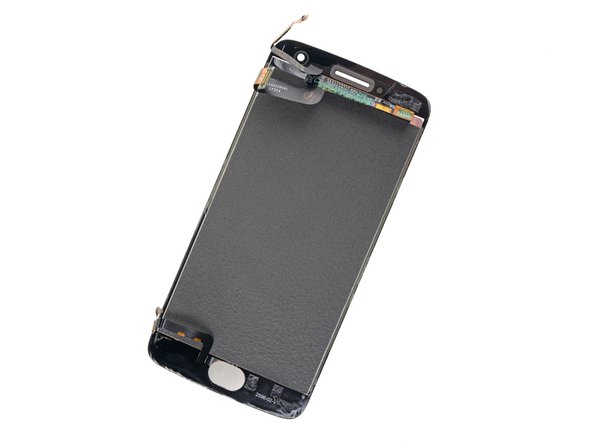
  • In the following steps you will be cutting through the adhesive around the edge of the display assembly.

  • Refer to the second and third images and familiarize yourself with the width of the adhesive around edges of the display.

  • If you plan to re-use the display assembly, be particularly careful as you cut the adhesive on the sides of the phone. Don't insert your tool more than 2 mm into the phone, and angle it down (away from the display assembly) as much as possible.

次の手順では、ディスプレイアセンブリの端の周りの接着剤を切開します。

2番目と3番目の画像を参照して、ディスプレイ周辺の接着剤の幅がどれぐらいあるか確認してください。

ディスプレイアセンブリを再利用する場合は、デバイス側面の接着剤を切開する際には特にご注意ください。 ツールをデバイスの2 mm以上は差し込まず、可能な限り下側に (ディスプレイアセンブリから離れる方向に) 傾けてください。

crwdns2944171:0crwdnd2944171:0crwdnd2944171:0crwdnd2944171:0crwdne2944171:0