crwdns2933423:0crwdne2933423:0

Remplacement du moteur du Shark Rocket HV381

crwdns2936315:0crwdne2936315:0
crwdns2936317:0crwdne2936317:0
crwdns2931653:04crwdne2931653:0
Shark Rocket HV381 Motor Replacement: crwdns2935265:00crwdnd2935265:01crwdnd2935265:03crwdne2935265:0 Shark Rocket HV381 Motor Replacement: crwdns2935265:00crwdnd2935265:02crwdnd2935265:03crwdne2935265:0 Shark Rocket HV381 Motor Replacement: crwdns2935265:00crwdnd2935265:03crwdnd2935265:03crwdne2935265:0
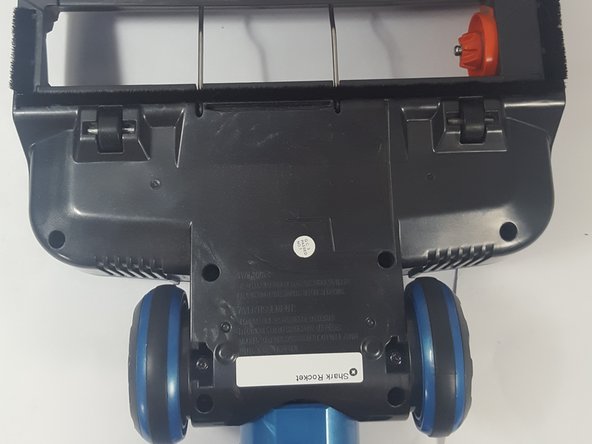
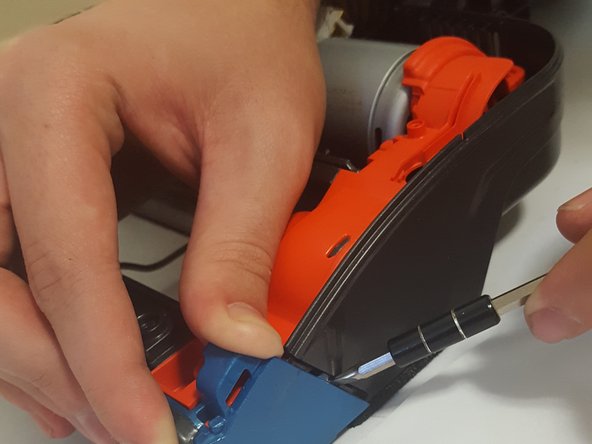
  • Set the freed motherboard off to the side, but take note of the wires connected to the motherboard. On the bottom of the vacuum head, while you should have removed these four screws while dissembling the wheels double check then remove the panel. Doing this will expose the engine. Using your fingers and the flat head, push the blue piece forward.

  • The only way we could push the blue piece forward without difficulty was to put the Flathead in the center of the part mentioned above and push with your thumb. It comes right out if done correctly.

Placez la carte mère libérée sur le côté, mais notez les fils connectés à la carte mère. Sur le bas de la tête d'aspiration, alors que vous auriez dû retirer ces quatre vis tout en démontant les roues, revérifiez puis retirez le panneau. Cela exposera le moteur. À l'aide de vos doigts et de la tête plate, poussez la pièce bleue vers l'avant.

La seule façon de pousser la pièce bleue vers l'avant sans difficulté était de mettre le Flathead au centre de la partie mentionnée ci-dessus et de pousser avec le pouce. Il sort tout de suite si c'est fait correctement.

crwdns2944171:0crwdnd2944171:0crwdnd2944171:0crwdnd2944171:0crwdne2944171:0