crwdns2935425:04crwdne2935425:0
crwdns2931653:04crwdne2931653:0


-
Remove the screw on the bottom of the battery compartment. Keep this screw with the one removed on the previous step. These two screws have a different length than all the other screws. They are the shortest ones in the camera
-
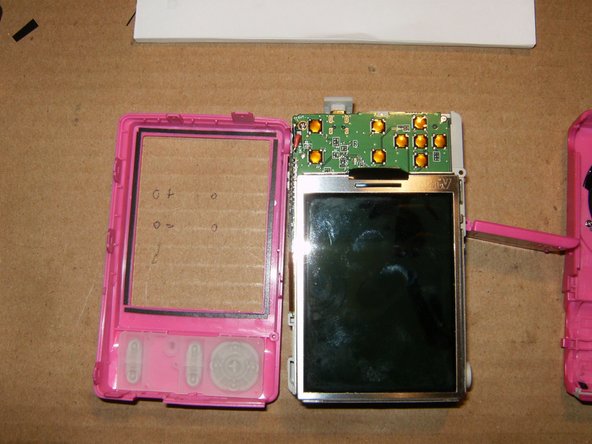
With those two screws removed, you can not separate the back part of the case.
-
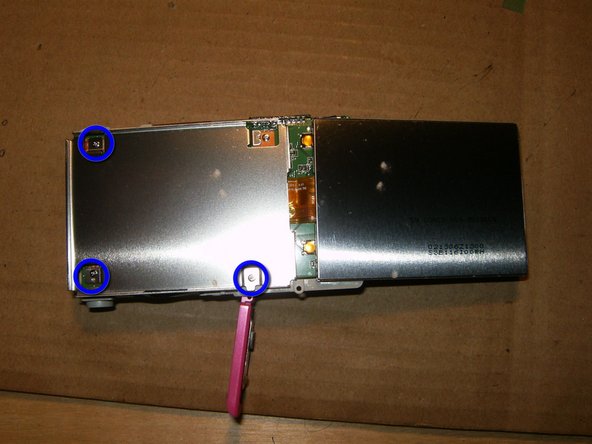
Remove the screw screws that hold the LCD frame to the logic board. Keep the 3 screws separated from the rest of the screws, due to different length.
crwdns2944171:0crwdnd2944171:0crwdnd2944171:0crwdnd2944171:0crwdne2944171:0