crwdns2935425:05crwdne2935425:0
crwdns2931653:05crwdne2931653:0

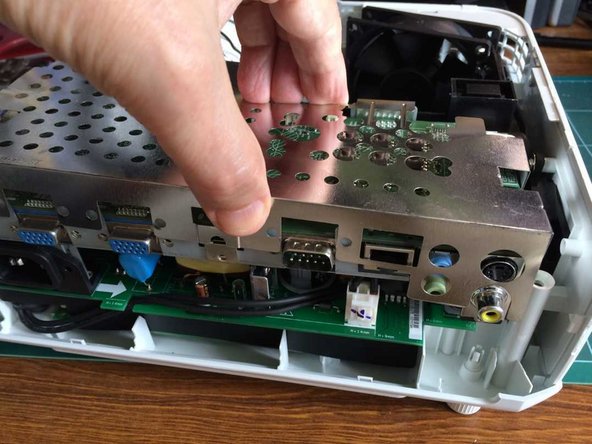


Metal shield removal - 2
-
Remove 3 screws from the back of the projector.
-
Remove 8 binding posts from the D-type connectors, using a 5mm socket.
-
The plastic back panel can now be lifted out.
-
Lift off the metal shield, gently releasing the clips on the sides and the front, and easing it over the sockets at the back.
crwdns2944171:0crwdnd2944171:0crwdnd2944171:0crwdnd2944171:0crwdne2944171:0