crwdns2935425:07crwdne2935425:0
crwdns2931653:07crwdne2931653:0

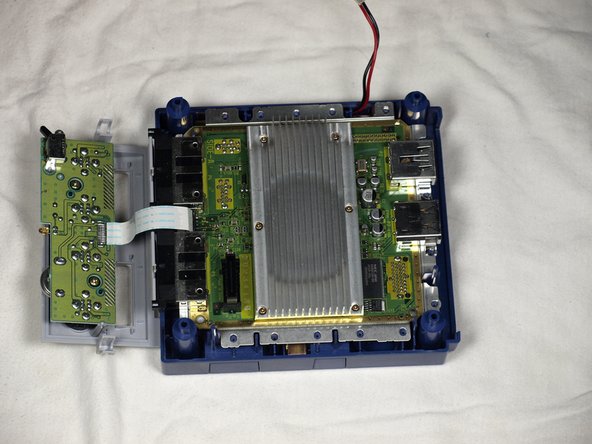


Removing the optical drive
-
Carefully remove the optical drive unit.
-
Carefully place the rest of the Gamecube unit aside and focus on the optical drive. Refer to picture 3.
crwdns2944171:0crwdnd2944171:0crwdnd2944171:0crwdnd2944171:0crwdne2944171:0