crwdns2935425:01crwdne2935425:0
crwdns2931653:01crwdne2931653:0


-
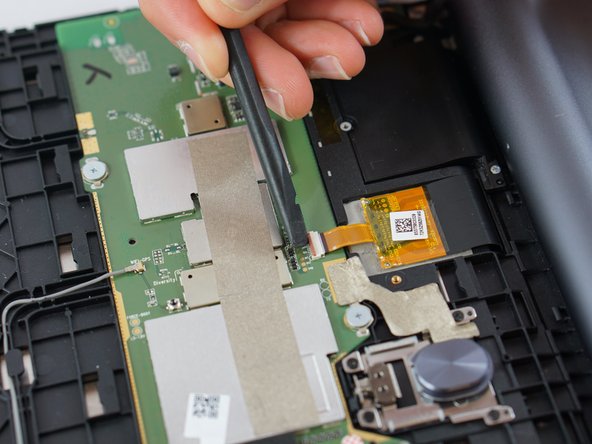
Before detaching the LCD and digitiser connectors, remove the two small screws at the top left (red bordered area in photo). Remove the metal shield and disconnect the battery wire.
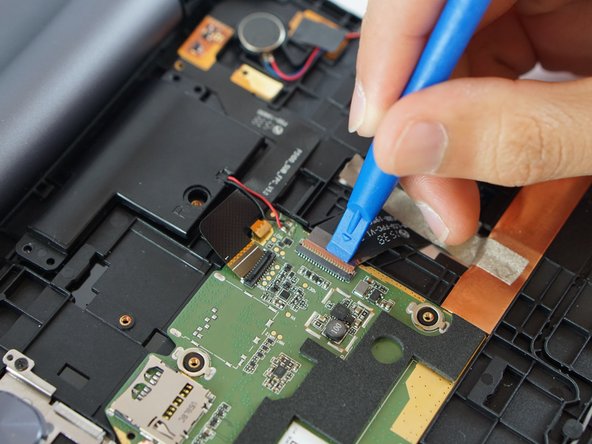
| - | [* black] Locate the digitizer and the LCD connector on the motherboard. |
|---|---|
| - | [* black] Carefully unlock the connect ribbon cables using the plastic spudger. |
| + | [* black] Before detaching the LCD and digitiser connectors, remove the two small screws at the top left (red bordered area in photo). Remove the metal shield and disconnect the battery wire. |
crwdns2944171:0crwdnd2944171:0crwdnd2944171:0crwdnd2944171:0crwdne2944171:0