crwdns2933423:0crwdne2933423:0

Sony Vaio VPCCB290X Optical Drive Replacement

crwdns2935425:07crwdne2935425:0

crwdns2936315:0crwdne2936315:0
crwdns2936331:0crwdne2936331:0
crwdns2931653:07crwdne2931653:0
Sony Vaio VPCCB290X Optical Drive Replacement: crwdns2935265:00crwdnd2935265:01crwdnd2935265:02crwdne2935265:0 Sony Vaio VPCCB290X Optical Drive Replacement: crwdns2935265:00crwdnd2935265:02crwdnd2935265:02crwdne2935265:0
  • This is the final step to replace the faulty drive with a new one.

  • Locate the screws securing the optical drive to the laptop chassis. These screws are typically positioned near the drive bay, accessible once the bottom panel is removed.

  • Unscrew these screws with a Phillips-head screwdriver. Set the screws aside in a safe container.

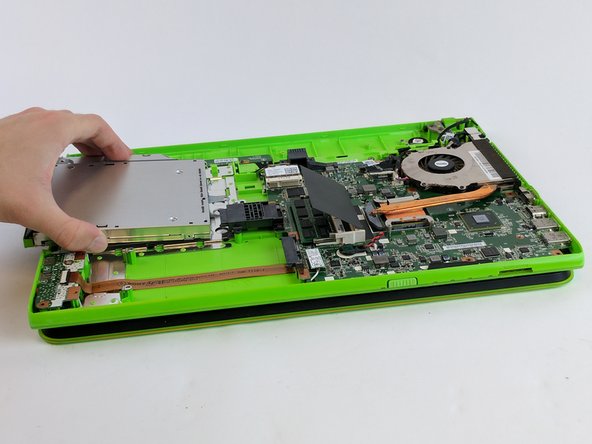
  • Gently push or pull the optical drive to slide it out of the bay. Use even pressure to avoid damaging the drive or surrounding components.

  • If the drive feels stuck, ensure that all securing screws have been removed and check for potential obstructions within the bay.

crwdns2935429:0crwdne2935429:0

crwdns2935429:0crwdne2935429:0

crwdns2935429:0crwdne2935429:0

crwdns2935429:0crwdne2935429:0

crwdns2935429:0crwdne2935429:0

crwdns2944171:0crwdnd2944171:0crwdnd2944171:0crwdnd2944171:0crwdne2944171:0