crwdns2933423:0crwdne2933423:0

Kindle Fire マザーボードの交換

crwdns2931529:0crwdnd2931529:0crwdnd2931529:0crwdnd2931529:05crwdnd2931529:0crwdne2931529:0

crwdns2935425:01crwdne2935425:0

crwdns2936315:0crwdne2936315:0
crwdns2936323:0crwdne2936323:0
crwdns2931653:01crwdne2931653:0
Kindle Fire Motherboard Replacement: crwdns2935265:00crwdnd2935265:01crwdnd2935265:03crwdne2935265:0 Kindle Fire Motherboard Replacement: crwdns2935265:00crwdnd2935265:02crwdnd2935265:03crwdne2935265:0 Kindle Fire Motherboard Replacement: crwdns2935265:00crwdnd2935265:03crwdnd2935265:03crwdne2935265:0
  • Remove the two 2.3 mm Phillips #00 screws from the touchscreen controller.

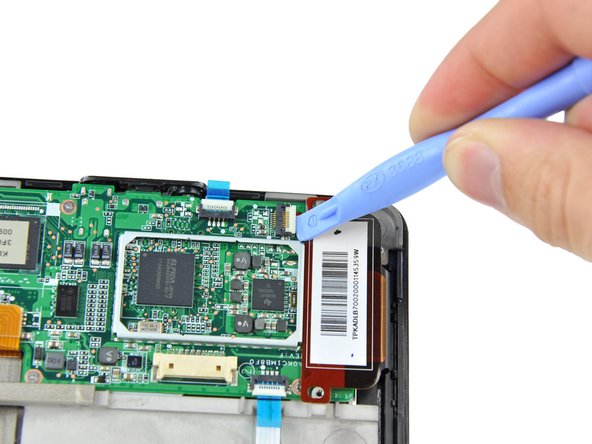
  • Use a plastic opening tool to release the touchscreen controller connector.

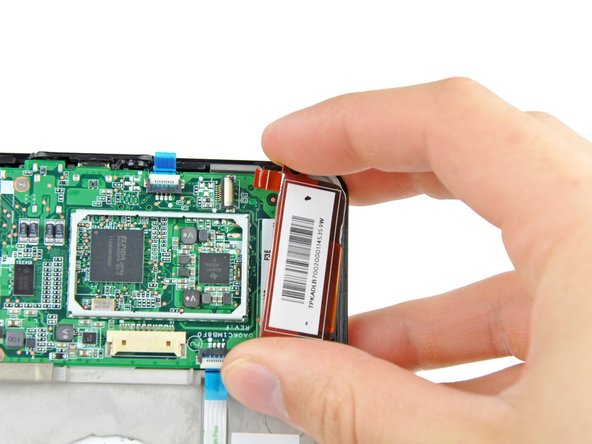
  • Gently remove the touchscreen controller by lifting it up and to the right.

  • Be careful not to rip the ribbon cable in doing so.

タッチスクリーンコントローラーから2.3mm #00プラスネジを外します。

プラスチックの開口ツールを使って、タッチスクリーンコントローラーのコネクタを外します。

タッチスクリーンコントロラーを持ち上げて、右側にスライドしながら、取り出します。

この作業中、リボンケーブルを切断しないようにご注意ください。

crwdns2944171:0crwdnd2944171:0crwdnd2944171:0crwdnd2944171:0crwdne2944171:0