crwdns2933423:0crwdne2933423:0

Casio LK-170 Display Replacement

crwdns2936315:0crwdne2936315:0
crwdns2936321:0crwdne2936321:0
crwdns2931653:03crwdne2931653:0
Casio LK-170 Display Replacement: crwdns2935265:00crwdnd2935265:01crwdnd2935265:03crwdne2935265:0 Casio LK-170 Display Replacement: crwdns2935265:00crwdnd2935265:02crwdnd2935265:03crwdne2935265:0 Casio LK-170 Display Replacement: crwdns2935265:00crwdnd2935265:03crwdnd2935265:03crwdne2935265:0
  • We will be removing a total of 26 screws on the component board..

  • First, you must use the PH-1 bit to remove the 17 8mm screws, circled in red.

  • Second, using the same PH-1 bit, you will remove the three 8mm screws hidden under the white wire. These screws are circled in orange.

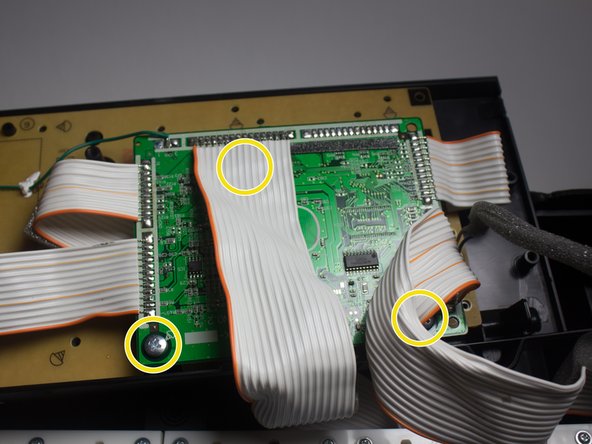
  • Third, using the JIS-1 bit, remove the three 7mm screws on the circuit board.

  • After removing the circuit board, three more screws will be revealed.

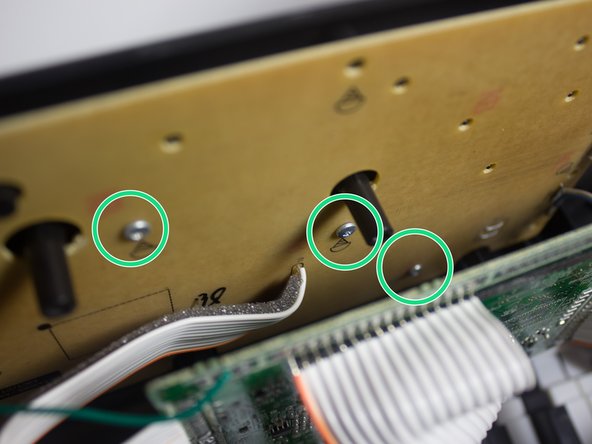
  • Using the PH-1 bit, remove the last three 8mm screws, circled in green.

crwdns2935429:0crwdne2935429:0

crwdns2935429:0crwdne2935429:0

crwdns2935429:0crwdne2935429:0

crwdns2935429:0crwdne2935429:0

crwdns2935429:0crwdne2935429:0

crwdns2935429:0crwdne2935429:0

crwdns2944171:0crwdnd2944171:0crwdnd2944171:0crwdnd2944171:0crwdne2944171:0