crwdns2933423:0crwdne2933423:0

Remplacement de l'écran complet du Samsung Galaxy S7

crwdns2931527:0crwdnd2931527:0crwdnd2931527:0crwdnd2931527:0crwdne2931527:0

crwdns2936315:0crwdne2936315:0
crwdns2936317:0crwdne2936317:0
crwdns2931653:03crwdne2931653:0
Samsung Galaxy S7 Screen Assembly Replacement, Remove the plastic covers: crwdns2935265:00crwdnd2935265:01crwdnd2935265:03crwdne2935265:0 Samsung Galaxy S7 Screen Assembly Replacement, Remove the plastic covers: crwdns2935265:00crwdnd2935265:02crwdnd2935265:03crwdne2935265:0 Samsung Galaxy S7 Screen Assembly Replacement, Remove the plastic covers: crwdns2935265:00crwdnd2935265:03crwdnd2935265:03crwdne2935265:0
Remove the plastic covers
  • Using a Phillips #00 screw driver bit, remove the 11 screws holding the plastic covers, loudspeaker, and NFC antenna on.

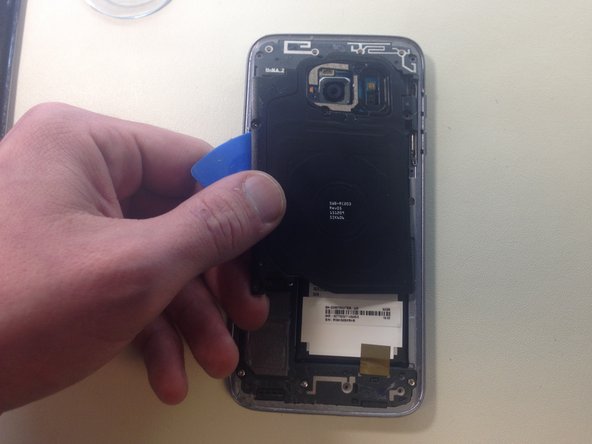
  • Using a guitar pick to break some light adhesive, remove the top two plastic plates, and the NFC antenna.

  • NOTE: If the adhesive is too strong, try applying more heat.

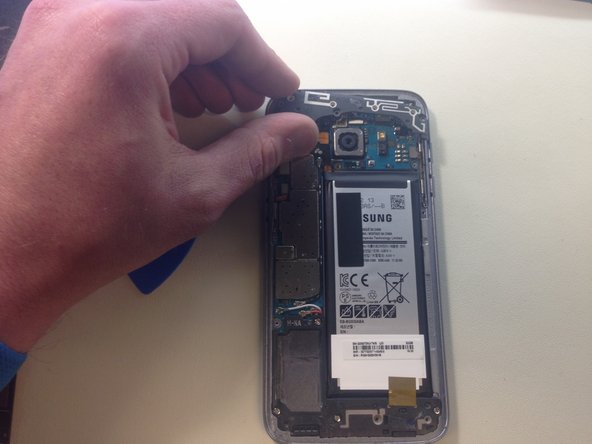
  • Remove the loudspeaker assembly. You may have to peel up a small piece of gold/copper tape holding the assembly to the battery.

En utilisant un tournevis Phillips #00, retirez les 11 vis fixant le plastique, le haut parleur et l'antenne NFC.

Avec un médiator, décollez l'adhésif et retirez les deux plaques en plastique et l'antenne NFC.

NOTE : si l'adhésif est trop fort, chauffez-le davantage.

Retirez l'ensemble haut-parleur. Vous devrez peut-être détacher une petite pièce d'or/cuivre qui retient le haut parleur à la batterie.

crwdns2944171:0crwdnd2944171:0crwdnd2944171:0crwdnd2944171:0crwdne2944171:0