crwdns2933423:0crwdne2933423:0

Samsung Galaxy S7 Display Einheit ersetzen

crwdns2931527:0crwdnd2931527:0crwdnd2931527:0crwdnd2931527:0crwdne2931527:0

crwdns2936315:0crwdne2936315:0
crwdns2936319:0crwdne2936319:0
crwdns2931653:03crwdne2931653:0
Samsung Galaxy S7 Screen Assembly Replacement, Remove the plastic covers: crwdns2935265:00crwdnd2935265:01crwdnd2935265:03crwdne2935265:0 Samsung Galaxy S7 Screen Assembly Replacement, Remove the plastic covers: crwdns2935265:00crwdnd2935265:02crwdnd2935265:03crwdne2935265:0 Samsung Galaxy S7 Screen Assembly Replacement, Remove the plastic covers: crwdns2935265:00crwdnd2935265:03crwdnd2935265:03crwdne2935265:0
Remove the plastic covers
  • Using a Phillips #00 screw driver bit, remove the 11 screws holding the plastic covers, loudspeaker, and NFC antenna on.

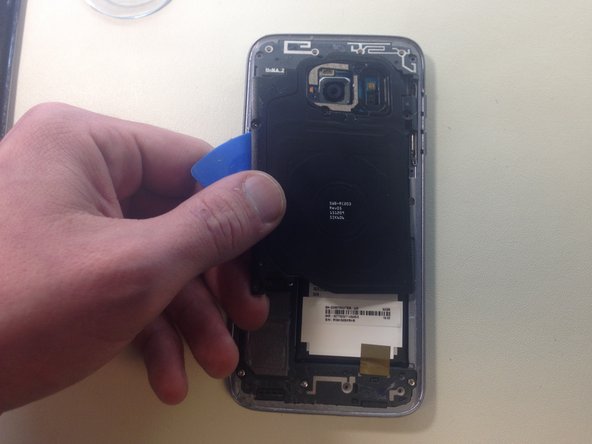
  • Using a guitar pick to break some light adhesive, remove the top two plastic plates, and the NFC antenna.

  • NOTE: If the adhesive is too strong, try applying more heat.

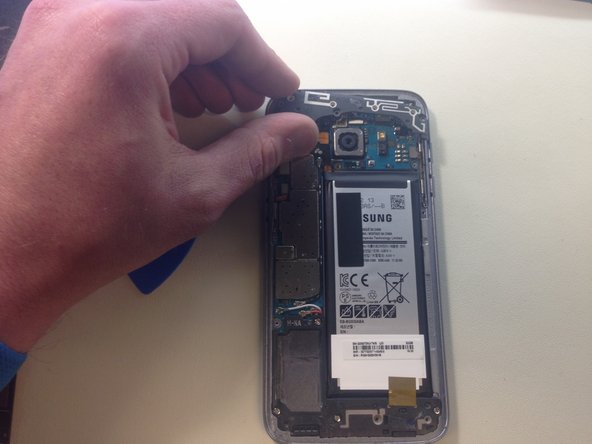
  • Remove the loudspeaker assembly. You may have to peel up a small piece of gold/copper tape holding the assembly to the battery.

Entferne mit einem Kreuzschlitzschraubendreher # 00 die 11 Schrauben, mit denen die Plastikabdeckungen, der Lautsprecher und die NFC-Antenne befestigt sind.

Brich den leichten Kleber mit einem Plektrum / Opening Pick auf und entferne die oberen beiden Plastikplättchen, sowie die NFC-Antenne.

HINWEIS: Wenn der Kleber zu stark ist, versuche ihn noch stärker zu erwärmen.

Entferne die Lautsprechereinheit. Möglicherweise musst Du ein kleines Stück Gold/Kupfer-Tape abschälen, welches die Einheit mit der Batterie verbindet.

crwdns2944171:0crwdnd2944171:0crwdnd2944171:0crwdnd2944171:0crwdne2944171:0