crwdns2931529:0crwdnd2931529:0crwdnd2931529:0crwdnd2931529:04crwdnd2931529:0crwdne2931529:0
crwdns2935425:06crwdne2935425:0
crwdns2931653:06crwdne2931653:0


-
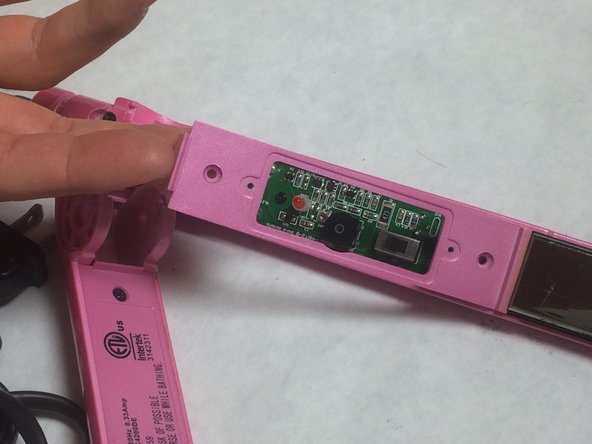
Use your JIS #0 screw driver to remove the two 6mm “J0” screws that are attached to the flat iron base and set them aside.
-
Lift the backing plate upwards to remove it from the flat iron.
-
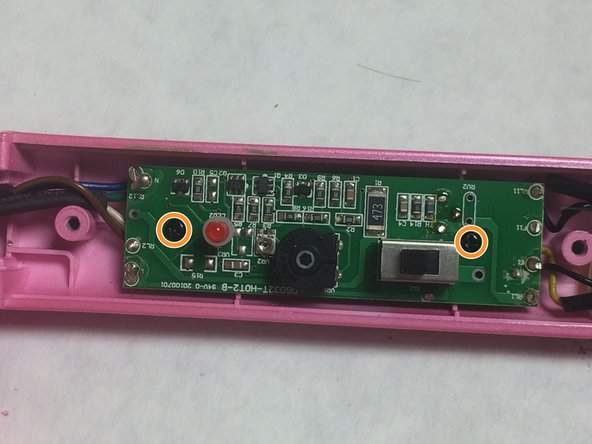
Use the Phillips #0 screwdriver to remove two 4mm “PH0” screws that attach the circuit assembly to the flat iron base.
crwdns2944171:0crwdnd2944171:0crwdnd2944171:0crwdnd2944171:0crwdne2944171:0