crwdns2933423:0crwdne2933423:0

Reemplazo de pantalla del iPhone 4S

crwdns2931529:0crwdnd2931529:0crwdnd2931529:0crwdnd2931529:04crwdnd2931529:0crwdne2931529:0

crwdns2936315:0crwdne2936315:0
crwdns2936331:0crwdne2936331:0
crwdns2931653:011crwdne2931653:0
iPhone 4S Screen Replacement, Display Assembly Installation (Cont'd): crwdns2935265:00crwdnd2935265:01crwdnd2935265:03crwdne2935265:0 iPhone 4S Screen Replacement, Display Assembly Installation (Cont'd): crwdns2935265:00crwdnd2935265:02crwdnd2935265:03crwdne2935265:0 iPhone 4S Screen Replacement, Display Assembly Installation (Cont'd): crwdns2935265:00crwdnd2935265:03crwdnd2935265:03crwdne2935265:0
Display Assembly Installation (Cont'd)
  • Whether installing a replacement display assembly or re-using the existing display assembly, note the following:

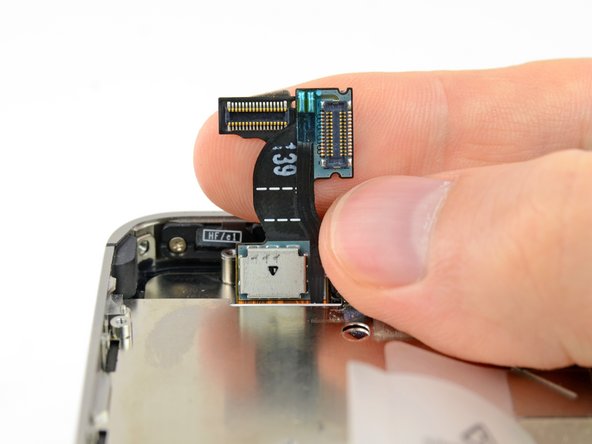
  • Carefully straighten the digitizer and LCD data cables, and feed them through the slot cut in the outer case.

  • The middle photo shows the digitizer cable being correctly fed through to its full length.

  • This photo shows the display assembly being installed incorrectly, with too much slack in the digitizer cable, which then forms a bend/loop that gets caught in the slot. The third photo also shows this loop.

  • If the digitizer cable has been installed incorrectly, it will not reach its socket on the logic board. Do not attempt to pull it through by force, or it will be cut by the sharp edge of its slot in the enclosure. Remove the display assembly, straighten the cable, and re-feed the cable through completely and correctly.

Ya sea que instale una pantalla de reemplazo o reutilice la pantalla existente, tenga en cuenta lo siguiente:

Enderece con cuidado los cables de datos del digitalizador y del LCD y páselos por la ranura cortada en la carcasa exterior.

La foto del medio muestra el cable del digitalizador pasando correctamente en su totalidad.

Esta foto muestra la pantalla instalada incorrectamente, con demasiada holgura en el cable del digitalizador, lo que luego forma una curvatura que queda atrapada en la ranura. La tercera foto también muestra este bucle.

Si el cable del digitalizador se ha instalado incorrectamente, no llegará a su zócalo en la placa base. No intente sacarlo a la fuerza o se cortará con el borde afilado de su ranura en la carcasa. Retire el ensamblaje de la pantalla, enderece el cable y vuelva a pasarlo completa y correctamente.

crwdns2944171:0crwdnd2944171:0crwdnd2944171:0crwdnd2944171:0crwdne2944171:0