crwdns2935425:04crwdne2935425:0
crwdns2931653:04crwdne2931653:0


-
Using your plastic pry tool, pry along the edges of plastic side of the screen to loosen and separate the first screen layer.
-
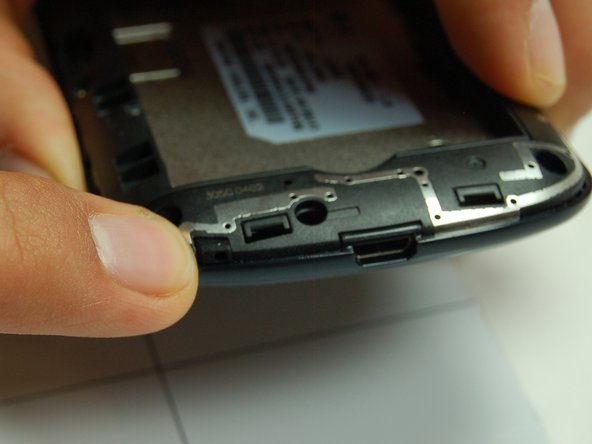
As shown in Picture 2, push in the notch along the edge of the charging port.
| - | [* black] Once finished removing all seven Phillips screws we can begin to separate the first layer of the screen and back. |
|---|---|
| - | [* black] Here you will need to use your plastic pry tool for this step. Along the edges of the device you should be able to pry on the plastic side of the screen to loosen it. |
| - | [* black] There is also a notch shown in picture 2 you will need to push in. |
| + | [* black] Using your plastic pry tool, pry along the edges of plastic side of the screen to loosen and separate the first screen layer. |
| + | [* black] As shown in Picture 2, push in the notch along the edge of the charging port. |
crwdns2944171:0crwdnd2944171:0crwdnd2944171:0crwdnd2944171:0crwdne2944171:0