crwdns2933423:0crwdne2933423:0

Linksys EA6900 Power Port Replacement

crwdns2935425:02crwdne2935425:0

crwdns2936315:0crwdne2936315:0
crwdns2936325:0crwdne2936325:0
crwdns2931653:02crwdne2931653:0
Linksys EA6900 Power Port Replacement: crwdns2935265:00crwdnd2935265:01crwdnd2935265:03crwdne2935265:0 Linksys EA6900 Power Port Replacement: crwdns2935265:00crwdnd2935265:02crwdnd2935265:03crwdne2935265:0 Linksys EA6900 Power Port Replacement: crwdns2935265:00crwdnd2935265:03crwdnd2935265:03crwdne2935265:0
  • Carefully apply the soldering iron on each of the three points on the bottom side of the motherboard to melt them.

  • Be careful to not touch the motherboard with the soldering iron, you can damage the circuits.

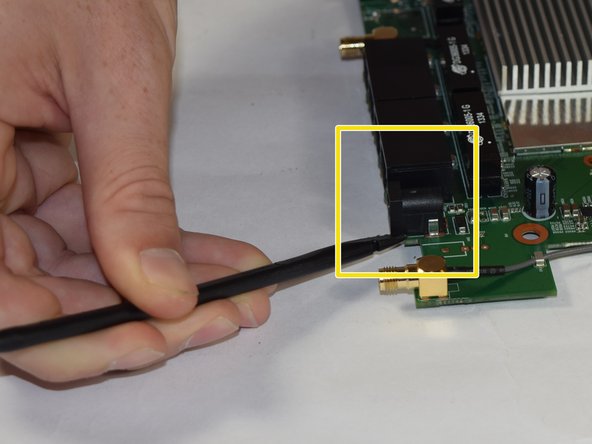
  • After you have melted and removed the solder, flip the mother board around and identify the connecting points of the power port.

  • Use a black spudger to gently separate the power port from the motherboard

crwdns2935429:0crwdne2935429:0

crwdns2935429:0crwdne2935429:0

crwdns2935429:0crwdne2935429:0

crwdns2935429:0crwdne2935429:0

crwdns2944171:0crwdnd2944171:0crwdnd2944171:0crwdnd2944171:0crwdne2944171:0