crwdns2935425:04crwdne2935425:0
crwdns2931653:04crwdne2931653:0


-
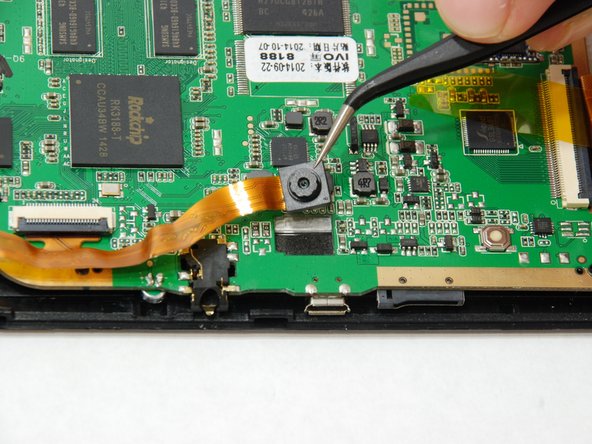
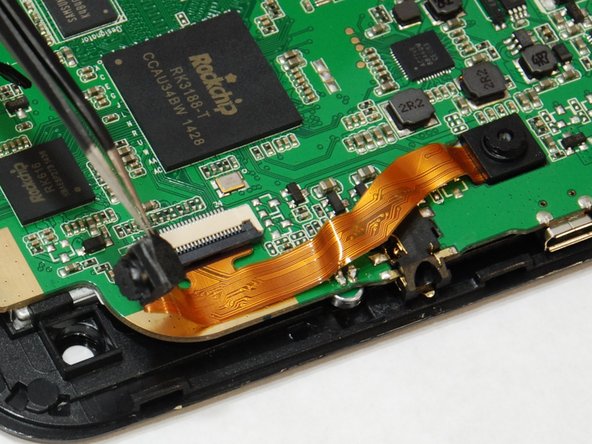
Using hook tweezers, gently separate the glued cameras away from the circuit board.
| - | [* black] Using hook tweezers, gently separate the glued cameras away from the circuit board. |
|---|---|
| + | [* black] Using hook [product|IF145-020|tweezers], gently separate the glued cameras away from the circuit board. |
| [* icon_note] ''Allow each camera to rest on circuit board while proceeding to the ZIF (zero insertion force) on the circuit board.'' | |
| [* icon_caution] Avoid touching camera lens with the tweezers. |
crwdns2944171:0crwdnd2944171:0crwdnd2944171:0crwdnd2944171:0crwdne2944171:0