crwdns2933423:0crwdne2933423:0

Shift5.1 Teardown

crwdns2936315:0crwdne2936315:0
crwdns2936325:0crwdne2936325:0
crwdns2931653:07crwdne2931653:0
Shift5.1 Teardown: crwdns2935265:00crwdnd2935265:01crwdnd2935265:03crwdne2935265:0 Shift5.1 Teardown: crwdns2935265:00crwdnd2935265:02crwdnd2935265:03crwdne2935265:0 Shift5.1 Teardown: crwdns2935265:00crwdnd2935265:03crwdnd2935265:03crwdne2935265:0
  • On the back of the display unit we see the motherboard with a multitude of components mounted on it.

  • We unplug both of the display connectors and peel the volume buttons and power button unit loose from the frame.

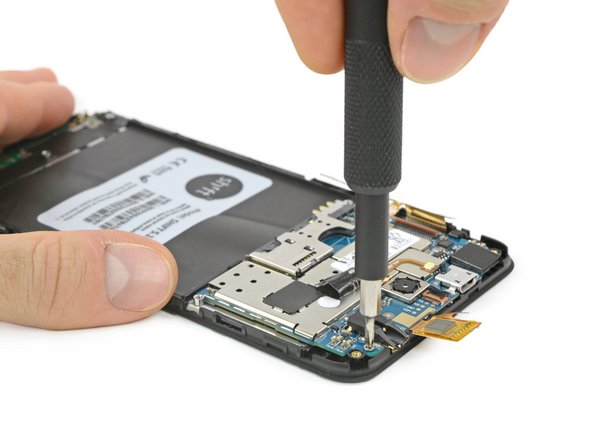
  • A single Phillips screw holds the motherboard in place.

crwdns2935429:0crwdne2935429:0

crwdns2935429:0crwdne2935429:0

crwdns2935429:0crwdne2935429:0

crwdns2944171:0crwdnd2944171:0crwdnd2944171:0crwdnd2944171:0crwdne2944171:0