crwdns2931527:0crwdnd2931527:0crwdnd2931527:0crwdnd2931527:0crwdne2931527:0
crwdns2935425:02crwdne2935425:0


-
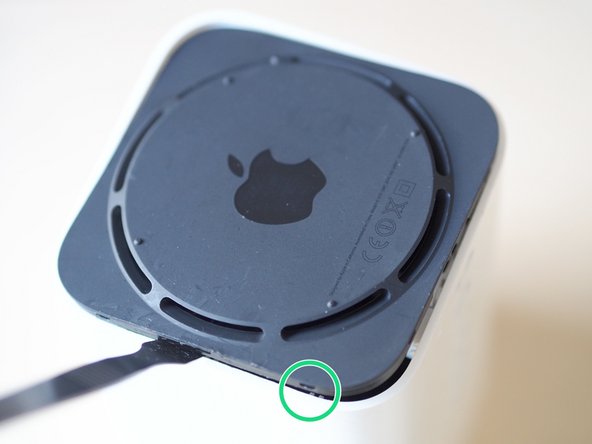
The base is held in place by eleven plastic retention lugs evenly spaced around the inside perimeter; three sides have three lugs and the side nearest the accessory ports has two lugs.
-
Slide a thin strong spudger between the base and the body (not too far in) to gently prise the edge of the base up, while trying not to mark or dent the soft plastic.
-
There are cables routed "too close for comfort" to the lugs at the front and back of the unit - so starting at the left or right side seems a safer bet.
-
Once one side is unclipped, things get a touch easier - work gradually around the perimeter gently levering with the spudger until the base eventually pops off with a sound like a warranty vaporising.
-
Careful, as the white plastic casing may flex alarmingly, and the black plastic is quite thin in places - you can see a damaged loop here.
crwdns2944171:0crwdnd2944171:0crwdnd2944171:0crwdnd2944171:0crwdne2944171:0