crwdns2933423:0crwdne2933423:0

Electronics Skills Kit 101

crwdns2936315:0crwdne2936315:0
crwdns2936321:0crwdne2936321:0
crwdns2931653:033crwdne2931653:0
Electronics Skills Kit 101: crwdns2935265:00crwdnd2935265:01crwdnd2935265:03crwdne2935265:0 Electronics Skills Kit 101: crwdns2935265:00crwdnd2935265:02crwdnd2935265:03crwdne2935265:0 Electronics Skills Kit 101: crwdns2935265:00crwdnd2935265:03crwdnd2935265:03crwdne2935265:0
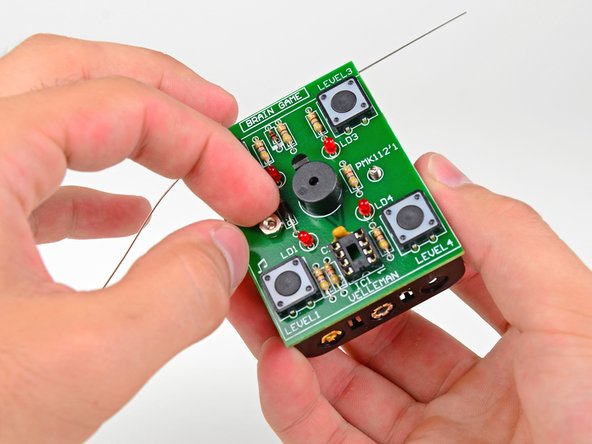
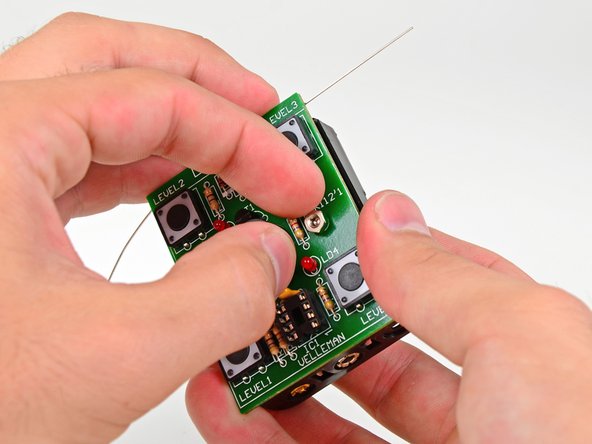
  • Continue holding the screws in place and set the circuit board on top of the battery compartment so that the two screws are fed through the holes on either side of the speaker.

  • Make sure that the top of the circuit board (the part that says Brain Game) lines up with the side of the battery compartment with three metal rings on the outside, as opposed to two.

  • Hand tighten the two nuts onto the battery compartment screws.

Continua a tenere ferme le viti ed appoggia la scheda logica sopra il compartimento della batteria in modo che le due viti passino nei fori su entrambi i lati dello speaker.

Assicurati che la faccia superiore della scheda logica (quella con scritto Brain Game) sia allineata al bordo del compartimento della batteria con tre anelli in metallo sull'esterno, invece di due.

Stringi a mano i due dadi sulle viti del compartimento della batteria.

crwdns2944171:0crwdnd2944171:0crwdnd2944171:0crwdnd2944171:0crwdne2944171:0