crwdns2933423:0crwdne2933423:0

Kit de habilidades electrónicas 101

crwdns2936315:0crwdne2936315:0
crwdns2936331:0crwdne2936331:0
crwdns2931653:033crwdne2931653:0
Electronics Skills Kit 101: crwdns2935265:00crwdnd2935265:01crwdnd2935265:03crwdne2935265:0 Electronics Skills Kit 101: crwdns2935265:00crwdnd2935265:02crwdnd2935265:03crwdne2935265:0 Electronics Skills Kit 101: crwdns2935265:00crwdnd2935265:03crwdnd2935265:03crwdne2935265:0
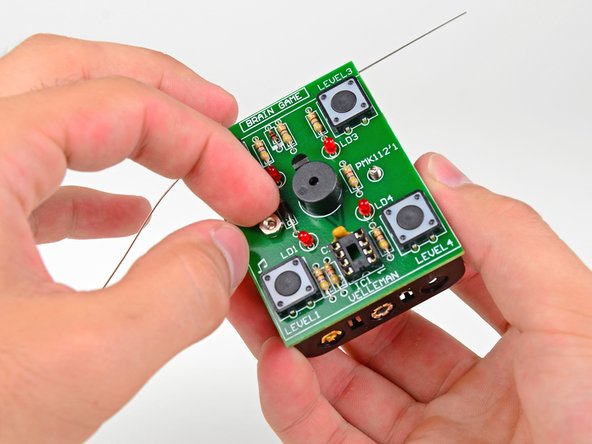
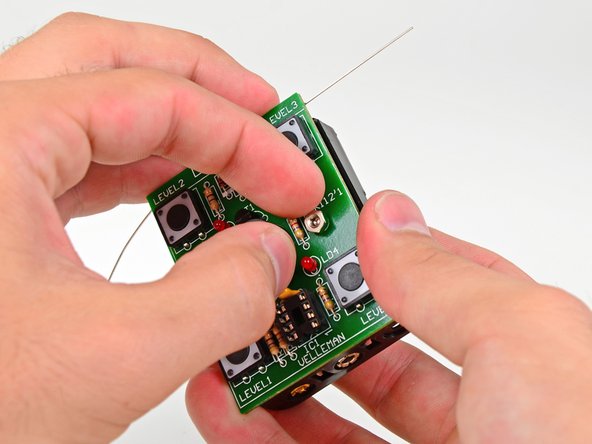
  • Continue holding the screws in place and set the circuit board on top of the battery compartment so that the two screws are fed through the holes on either side of the speaker.

  • Make sure that the top of the circuit board (the part that says Brain Game) lines up with the side of the battery compartment with three metal rings on the outside, as opposed to two.

  • Hand tighten the two nuts onto the battery compartment screws.

Continúa sujetando los tornillos en su lugar y coloca la placa de circuito en la parte superior del compartimiento de la batería de manera que los dos tornillos pasen a través de los orificios a ambos lados del altavoz.

Asegúrate de que la parte superior de la placa de circuito (la parte que dice Brain Game) esté alineada con el costado del compartimiento de la batería con tres anillos de metal en el exterior, en lugar de dos.

Aprieta a mano las dos tuercas en los tornillos del compartimiento de la batería.

crwdns2944171:0crwdnd2944171:0crwdnd2944171:0crwdnd2944171:0crwdne2944171:0