crwdns2933423:0crwdne2933423:0

Elektronik-Übungsbausatz MK112

crwdns2936315:0crwdne2936315:0
crwdns2936319:0crwdne2936319:0
crwdns2931653:033crwdne2931653:0
Electronics Skills Kit 101: crwdns2935265:00crwdnd2935265:01crwdnd2935265:03crwdne2935265:0 Electronics Skills Kit 101: crwdns2935265:00crwdnd2935265:02crwdnd2935265:03crwdne2935265:0 Electronics Skills Kit 101: crwdns2935265:00crwdnd2935265:03crwdnd2935265:03crwdne2935265:0
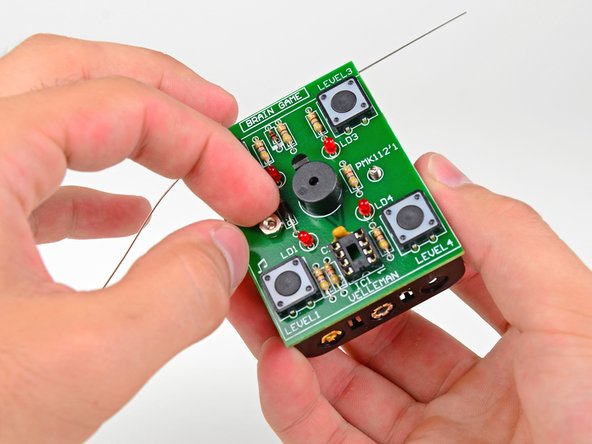
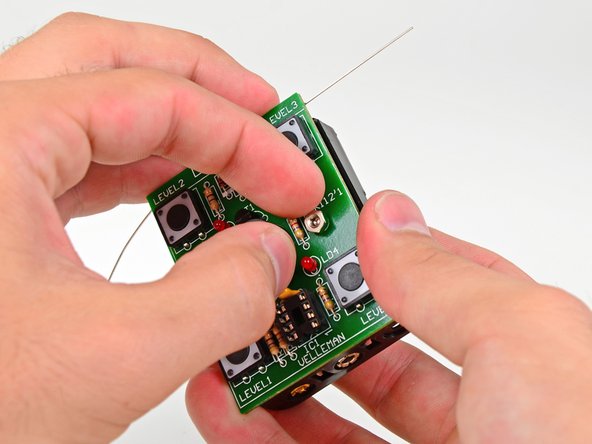
  • Continue holding the screws in place and set the circuit board on top of the battery compartment so that the two screws are fed through the holes on either side of the speaker.

  • Make sure that the top of the circuit board (the part that says Brain Game) lines up with the side of the battery compartment with three metal rings on the outside, as opposed to two.

  • Hand tighten the two nuts onto the battery compartment screws.

Halte die Schrauben weiter fest und setze die Leiterplatte oben auf das Akkufach, so dass die beiden Schrauben auf beiden Seiten durch die Löcher im Lautsprecher passen.

Achte darauf, dass der obere Rand der Leiterplatte (mit der Aufschrift Brain Game) auf der Seite des Akkufachs mit den drei Metallringen ist, nicht mit zwei.

Setze die zwei Muttern auf die beiden Schrauben des Akkufachs und ziehe sie handfest an.

crwdns2944171:0crwdnd2944171:0crwdnd2944171:0crwdnd2944171:0crwdne2944171:0