crwdns2933423:0crwdne2933423:0

Remplacement de la carte mère du ATT CL4940

crwdns2936315:0crwdne2936315:0
crwdns2936317:0crwdne2936317:0
crwdns2931653:03crwdne2931653:0
ATT CL4940 Motherboard Replacement: crwdns2935265:00crwdnd2935265:01crwdnd2935265:03crwdne2935265:0 ATT CL4940 Motherboard Replacement: crwdns2935265:00crwdnd2935265:02crwdnd2935265:03crwdne2935265:0 ATT CL4940 Motherboard Replacement: crwdns2935265:00crwdnd2935265:03crwdnd2935265:03crwdne2935265:0
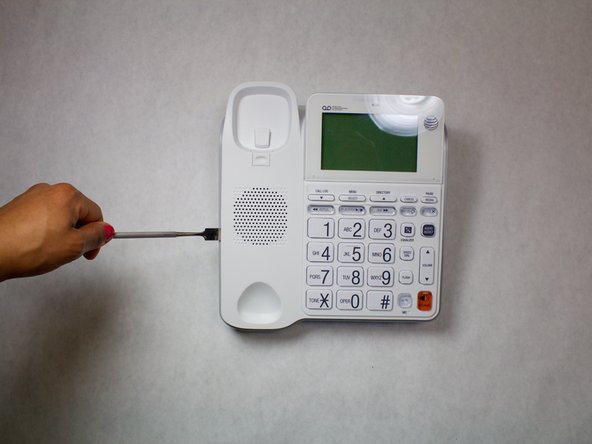
  • Using a metal spudger, start at the bottom of the device to separate the top cover from the back cover.

  • Work the spudger between the top and back covers of the device starting downwards, then to each side, and finally upwards.

  • There are brackets every few inches along the edge of the device which may be difficult to pull apart.

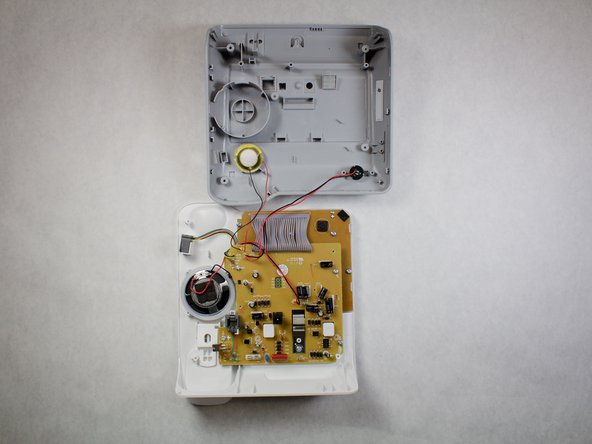
  • The top and back cover will separate and the internals will be accessible.

A l'aide d'une spatule en métal, commencez par le bas de l'appareil pour séparer le capot supérieur du capot arrière.

Travaillez le spudger entre les capots supérieur et arrière de l'appareil en commençant par le bas, puis de chaque côté et enfin vers le haut.

Il y a des supports tous les quelques centimètres le long du bord de l'appareil qui peuvent être difficiles à séparer.

La couverture supérieure et arrière se séparera et les composants internes seront accessibles.

crwdns2944171:0crwdnd2944171:0crwdnd2944171:0crwdnd2944171:0crwdne2944171:0