crwdns2915892:0crwdne2915892:0
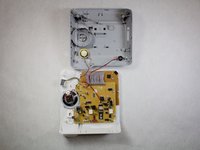
Use this guide to replace a faulty or broken motherboard in your ATT CL4940 telephone.
The motherboard is the main circuit board which provides all connectivity between the hardware components of the device. A faulty motherboard can cause your device to run slow, and in some cases not work at all. Some reasons for motherboard failure include overheating, dust, power surges, and old age.
Before using this guide, make sure to check out the page on soldering and desoldering as this will be an important skill in step 5.
Be sure to unplug your device before starting as to avoid any electrical related injuries and/or damages.
crwdns2942213:0crwdne2942213:0
-
-
Disconnect the phone line and power cord from the back cover of the device.
-
Disconnect the phone cable from the side of the device.
-
-
-
Turn the device over on its front so the back cover is facing you.
-
Use a bit driver to remove all five 4mm X 10mm Phillips head screws from the back cover.
-
-
-
-
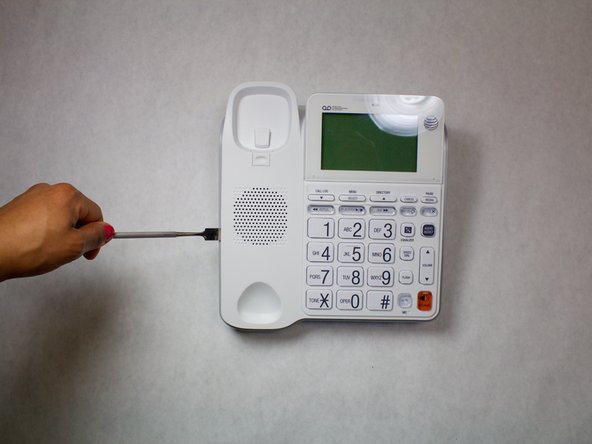
Using a metal spudger, start at the bottom of the device to separate the top cover from the back cover.
-
Work the spudger between the top and back covers of the device starting downwards, then to each side, and finally upwards.
-
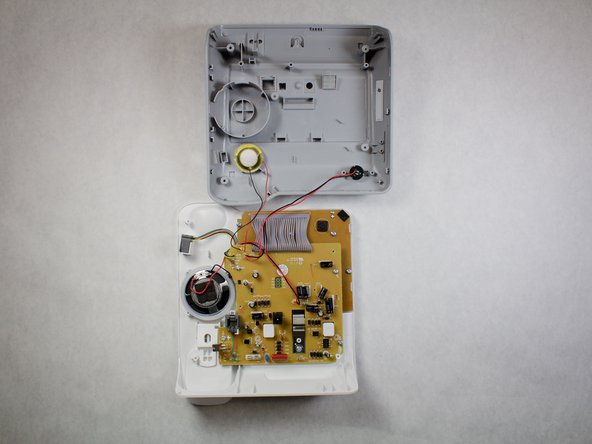
The top and back cover will separate and the internals will be accessible.
-
-
-
Use a bit driver to remove all five 5mm X 5mm Phillips head Motherboard screws.
-
-
crwdns2935267:0crwdne2935267:0Desoldering Pump$3.99
-
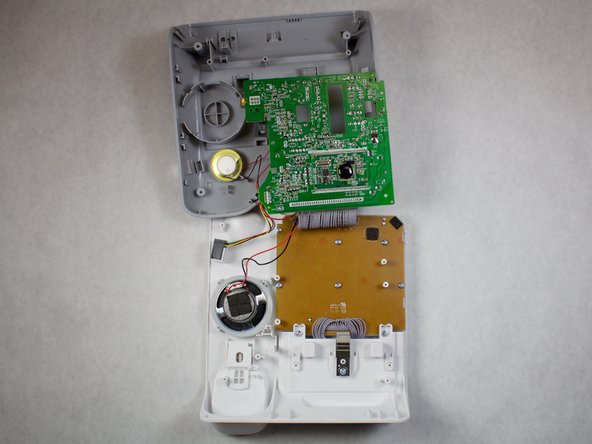
Lift the motherboard upwards as shown in the first image.
-
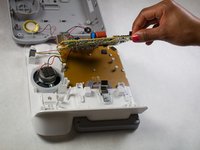
Use a de-soldering pump to disconnect the electric wires by de-soldering them.
-
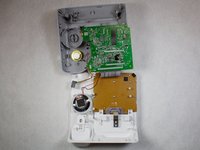
To reassemble your device, follow these instructions in reverse order.
crwdns2947412:02crwdne2947412:0
But no option for ordering a replacement motherboard! Did the author get the part off of a scrapped unit?
It should be noted that the motherboard displayed is the original version. Clearly due to issues related to the AC power supply section, AT&T revised this model to use a DC power supply. What I would like to know is why do so many of these fail with the message "NO AC POWER" when the power supply is indeed working properly. In those events, the display works, the cpu does to (as per the message), and the phone will dial. Speakerphone, and other enhancements (including the answering machine) will NOT work. The reason to recover one of these is to get valuable messages off it. So, for anyone who contributed to this or anyone who might know, what is the fix for this? This seems to happen after utility power issues. Personally, I suspect that there are two power supply areas on this motherboard; one that continues to work and another that appears to fail. It could also be that there is a circuit to detect AC power failure and that detection circuit itself is damaged. This needs a fix. Thanks.


