crwdns2931527:0crwdnd2931527:0crwdnd2931527:0crwdnd2931527:0crwdne2931527:0
crwdns2935425:04crwdne2935425:0
crwdns2931653:04crwdne2931653:0

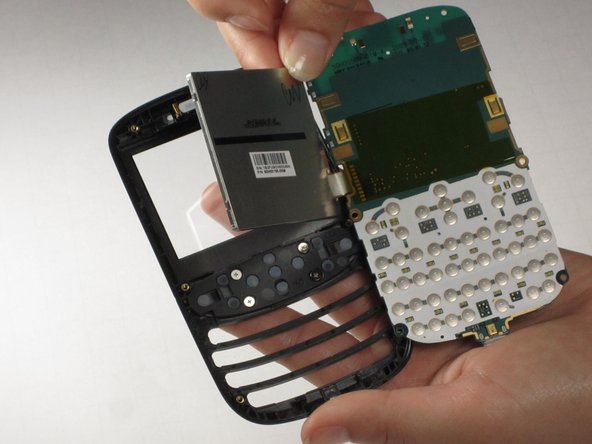


Taking out the Display Screen
-
Using a spudger, remove the display screen from its cell within the front case. Insert the spudger next to the LCD on the opposite side of where the motherboard is attached.
| [title] Taking out the Display Screen | |
| [* black] Using a spudger, remove the display screen from its cell within the front case. Insert the spudger next to the LCD on the opposite side of where the motherboard is attached. | |
| - | [* icon_caution] |
| + | [* icon_caution] The LCD is attached with a sticky adhesive so it might be difficult to get off. |
crwdns2944171:0crwdnd2944171:0crwdnd2944171:0crwdnd2944171:0crwdne2944171:0