crwdns2933423:0crwdne2933423:0

Replacing the Carriage in the Photosmart All In One Printer

crwdns2935425:05crwdne2935425:0

crwdns2936315:0crwdne2936315:0
crwdns2936319:0crwdne2936319:0
crwdns2931653:05crwdne2931653:0
Replacing the Carriage in the Photosmart All In One Printer: crwdns2935265:00crwdnd2935265:01crwdnd2935265:03crwdne2935265:0 Replacing the Carriage in the Photosmart All In One Printer: crwdns2935265:00crwdnd2935265:02crwdnd2935265:03crwdne2935265:0 Replacing the Carriage in the Photosmart All In One Printer: crwdns2935265:00crwdnd2935265:03crwdnd2935265:03crwdne2935265:0
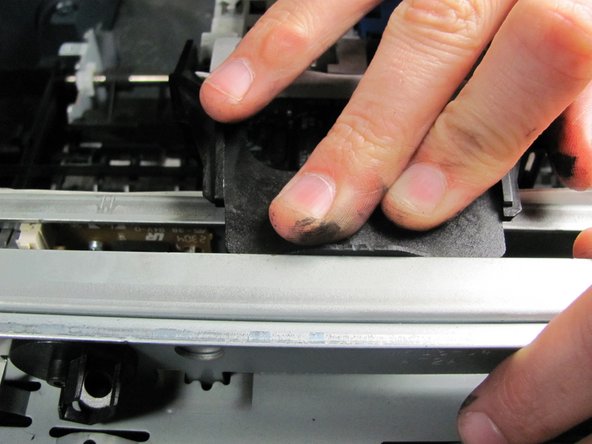
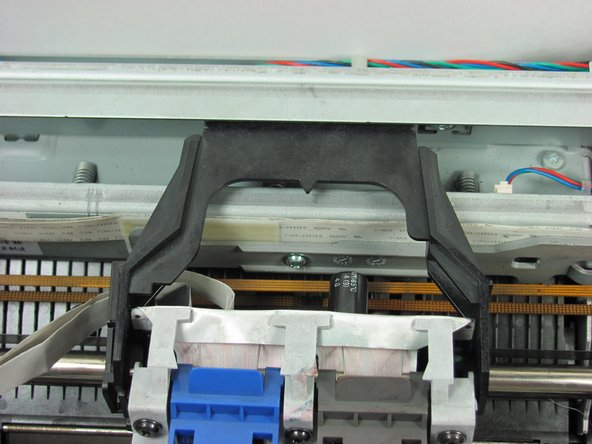
  • Place new printer carriage on the carriage rod one side at a time.

  • For proper reassembly, place the printer carriage’s black lip beneath the overhanging metal flap located at the back of the printer.

crwdns2935429:0crwdne2935429:0

crwdns2935429:0crwdne2935429:0

crwdns2944171:0crwdnd2944171:0crwdnd2944171:0crwdnd2944171:0crwdne2944171:0