crwdns2933423:0crwdne2933423:0

Panasonic LUMIX DMC-LX100 zerlegen

crwdns2936315:0crwdne2936315:0
crwdns2936319:0crwdne2936319:0
crwdns2931653:03crwdne2931653:0
Disassembling Panasonic LUMIX DMC-LX100: crwdns2935265:00crwdnd2935265:01crwdnd2935265:03crwdne2935265:0 Disassembling Panasonic LUMIX DMC-LX100: crwdns2935265:00crwdnd2935265:02crwdnd2935265:03crwdne2935265:0 Disassembling Panasonic LUMIX DMC-LX100: crwdns2935265:00crwdnd2935265:03crwdnd2935265:03crwdne2935265:0
  • Use a Phillips #000 screwdriver to remove the three 3.5 mm screws.

  • Use a Phillips #000 screwdriver to remove the three 3 mm screws.

  • In some models these may be T3 or T4 Torx screws.

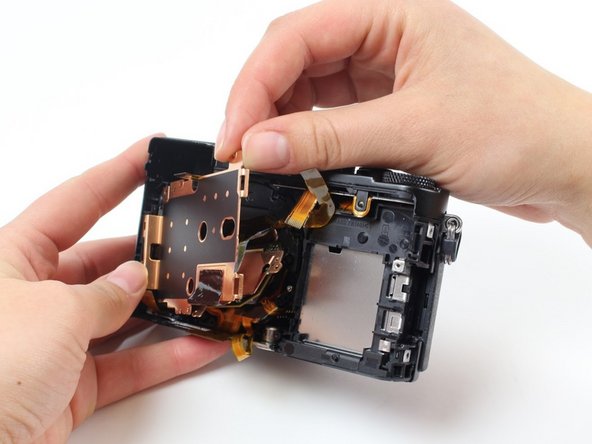
  • Gently pull the copper plate towards you to remove it.

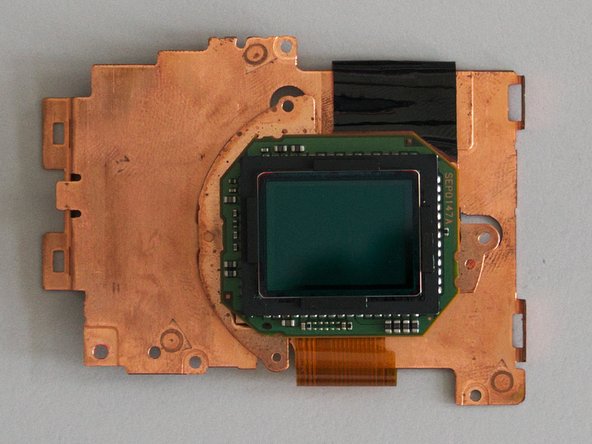
  • The sensor is attached to the copper plate and will come out with the copper plate. The thin, red glass plate glued to the front of the sensor is the infrared filter.

Entferne die drei 3,5 mm langen Kreuzschlitzschrauben #000.

Entferne die drei 3 mm langen Kreuzschlitzschrauben #000.

Es könnten bei manchen Modellen auch Torx T3 oder T4 Schrauben sein.

Ziehe die Kupferplatte vorsichtig zu dir hin und entferne sie.

An der Kupferplatte ist ein Sensor angebracht, dieser kommt zusammen mit ihr heraus. Die dünne rote Glasplatte, die vorne auf dem Sensor aufgeklebt ist, ist der Infrarotfilter.

crwdns2944171:0crwdnd2944171:0crwdnd2944171:0crwdnd2944171:0crwdne2944171:0