crwdns2931529:0crwdnd2931529:0crwdnd2931529:0crwdnd2931529:04crwdnd2931529:0crwdne2931529:0
crwdns2935425:05crwdne2935425:0
crwdns2931653:05crwdne2931653:0


-
Remove the 4mm screw in the center using a Phillips screwdriver.
-
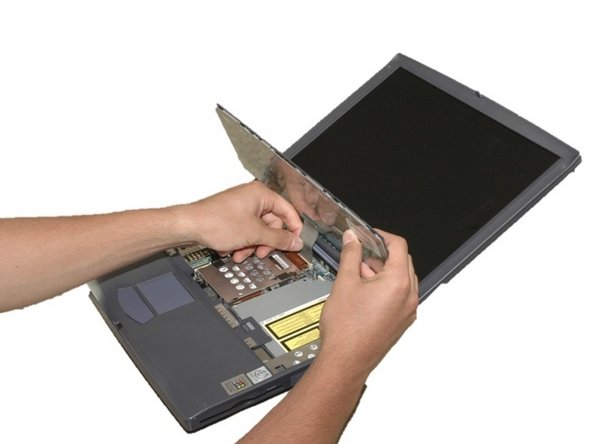
Carefully and slowly pull the green strip straight up (away from the laptop) to disconnect it. Make sure not to pull too hard to avoid breaking.
-
The keyboard can now be removed.
| - | [* |
|---|---|
| - | [* black] Carefully and slowly pull the green strip straight up (away from the laptop) to disconnect it. Make sure not |
| + | [* red] Remove the 4mm screw in the center using a Phillips screwdriver. |
| + | [* black] Carefully and slowly pull the green strip straight up (away from the laptop) to disconnect it. Make sure not to pull too hard to avoid breaking. |
| [* black] The keyboard can now be removed. |
crwdns2944171:0crwdnd2944171:0crwdnd2944171:0crwdnd2944171:0crwdne2944171:0