crwdns2933423:0crwdne2933423:0

Smontaggio completo PlayStation 4 CUH-1200A

crwdns2936315:0crwdne2936315:0
crwdns2936321:0crwdne2936321:0
crwdns2931653:08crwdne2931653:0
PlayStation 4 CUH-1200 Entire Console Disassembly, Remove the Power Supply: crwdns2935265:00crwdnd2935265:01crwdnd2935265:03crwdne2935265:0 PlayStation 4 CUH-1200 Entire Console Disassembly, Remove the Power Supply: crwdns2935265:00crwdnd2935265:02crwdnd2935265:03crwdne2935265:0 PlayStation 4 CUH-1200 Entire Console Disassembly, Remove the Power Supply: crwdns2935265:00crwdnd2935265:03crwdnd2935265:03crwdne2935265:0
Remove the Power Supply
  • Remove the three T9 torx screws then the two phillips PH 0 long screws.

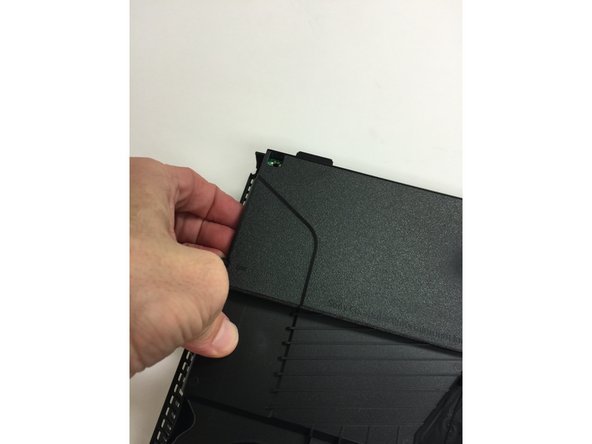
  • Pull up on the left side (the side without the four wires), then on the right side. The right side of the power supply will be harder to pull up on so you'll need to pull firmly.

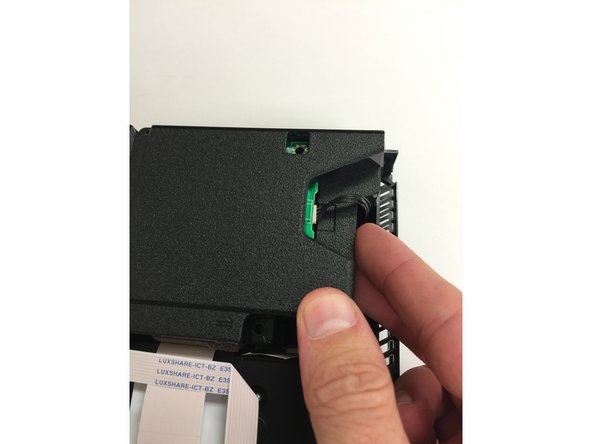
  • After you get it loose you'll be able to pull it up a bit but it will still be connected by the four wire connector so don't pull it all the way out until that has been disconnected (shown in the next step).

Svita prima le tre viti Torx T9 e poi passa alle due viti lunghe a croce Phillips #0.

Solleva la parte che si trova più a sinistra (quella senza i quattro cavetti del connettore), e poi procedi con il lato destro. Quest'ultimo opporrà più resistenza, pertanto dovrai tirare con maggiore forza.

Non appena riuscirai a sollevare questa parte, potrai sollevarla ancora un po', ma tieni sempre presente che ci sono ancora i quattro cavetti del connettore da staccare. (Te lo mostriamo nel prossimo passo).

crwdns2944171:0crwdnd2944171:0crwdnd2944171:0crwdnd2944171:0crwdne2944171:0