crwdns2935425:019crwdne2935425:0


-
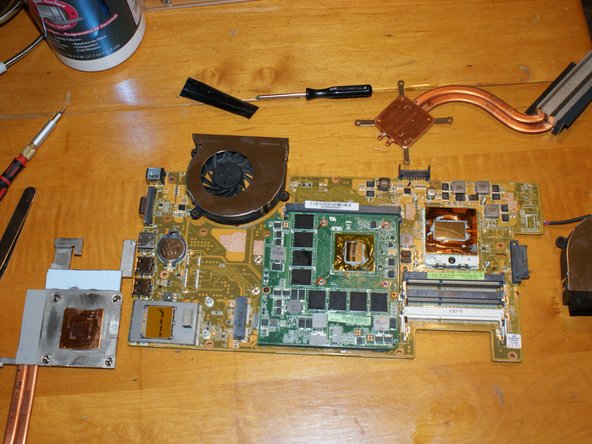
Now that you have the heatsink, or heatsinks off, it's time to clean the old thermal past off in preparation for applying the new. I use a few drops of Arctic Sliver's special removal compound to soften the old past and make it easier to remove. Use a lint-free cloth or specialized electronics wipes for this, NOT paper towels. These can scratch the smooth surface of the heat spreaders on the GPU and CPU.
-
Once the old paste is gone from both the chips and the surface of the heatsinks that go over the chips, do a final pass with an alcohol wipe to remove any lingering traces of thermal paste and fingerprints. The chips themselves should look almost like mirrors.
-
Don't worry about it is there is some residual paste around the edges of the chips, as seen in the second image. The surface is what we're worried about here.
-
When applying the new thermal paste, make sure to read any instructions on the packaging. Not all thermal pastes are the same. For this job, I used IC Diamond, which requires pre-heating in a cup of hot water. Also, when applying it, use a portion about as large as a pea. It's better to use a little more than too little. Excess won't hurt anything.
-
When you've got the thermal paste applied, place the heatsinks back on their respective chips, taking care to place them directly on the thermal paste, and using a back-and-forth rotating motion to evently spread the paste. Then secure them with the screws, following the numbered order on the retention clips.
-
You're all done! Now reassemble the notebook, and fire it up. There should be a noticeable difference in fan speeds and temperature after the repasting.
crwdns2944171:0crwdnd2944171:0crwdnd2944171:0crwdnd2944171:0crwdne2944171:0