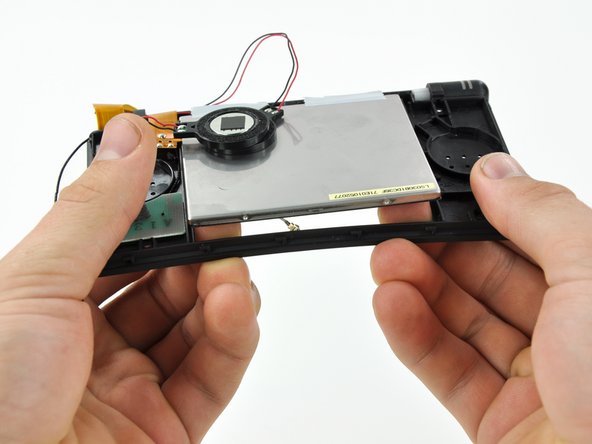
crwdns2933423:0crwdne2933423:0

Sostituzione Antenna Wi-Fi Nintendo DS Lite

crwdns2936315:0crwdne2936315:0
crwdns2936321:0crwdne2936321:0
crwdns2931653:02crwdne2931653:0
Nintendo DS Lite Wi-Fi Antenna Replacement: crwdns2935265:00crwdnd2935265:01crwdnd2935265:03crwdne2935265:0 Nintendo DS Lite Wi-Fi Antenna Replacement: crwdns2935265:00crwdnd2935265:02crwdnd2935265:03crwdne2935265:0 Nintendo DS Lite Wi-Fi Antenna Replacement: crwdns2935265:00crwdnd2935265:03crwdnd2935265:03crwdne2935265:0
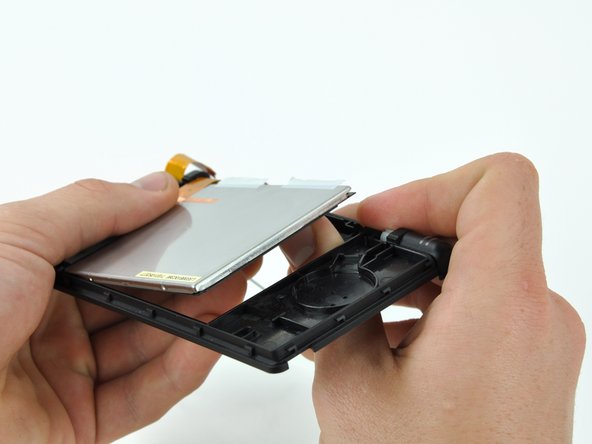
  • Starting in the top right corner, use both hands to slowly separate the LCD from the front display bezel.

  • Continue separating along the top and left edges of the LCD.

  • Finally, push the LCD up and away from the front display bezel.

  • Do not try to remove the LCD yet, as it is still connected to the front display bezel via the LCD ribbon cable.

Cominciando con l'angolo superiore destro, usa entrambe le mani per separare l'LCD dalla cornice dello schermo frontale.

Continua a separare lungo la parte superiore e l'angolo sinistro dell'LCD.

Infine, spingi l'LCD verso l'alto e distanzialo dalla cornice dello schermo frontale.

Non provare a rimuovere l'LCD in quanto è ancora collegato alla cornice dello schermo frontale attraverso un cavo a nastro.

crwdns2944171:0crwdnd2944171:0crwdnd2944171:0crwdnd2944171:0crwdne2944171:0