crwdns2933423:0crwdne2933423:0

Démontage de HP Officejet Pro L7580

crwdns2936315:0crwdne2936315:0
crwdns2936317:0crwdne2936317:0
crwdns2931653:03crwdne2931653:0
HP Officejet Pro L7580 Teardown: crwdns2935265:00crwdnd2935265:01crwdnd2935265:03crwdne2935265:0 HP Officejet Pro L7580 Teardown: crwdns2935265:00crwdnd2935265:02crwdnd2935265:03crwdne2935265:0 HP Officejet Pro L7580 Teardown: crwdns2935265:00crwdnd2935265:03crwdnd2935265:03crwdne2935265:0
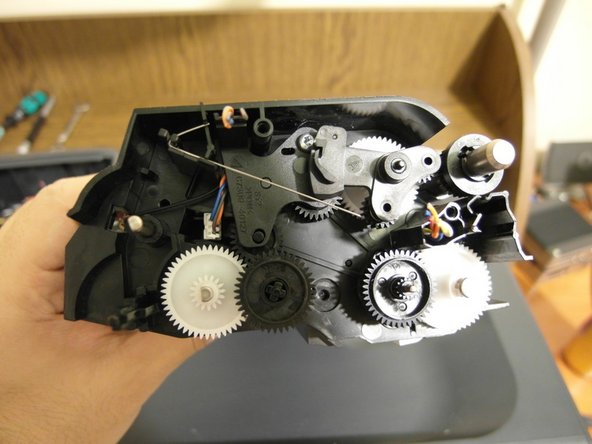
  • Remove the T8 Torx screws from the right cover.

  • You will see the feeder's mechanics after removing the cover.

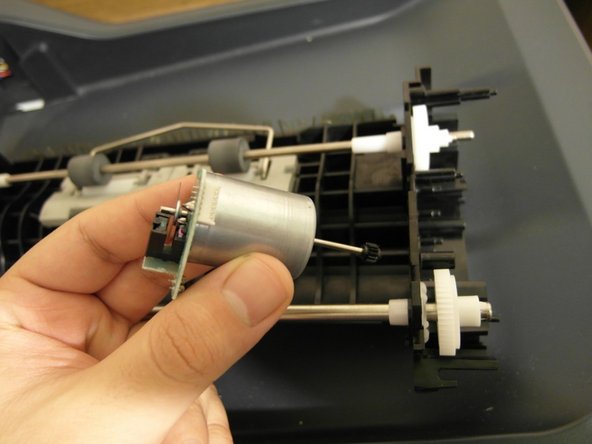
  • Remove the top cover, and here is the first DC motor and its encoder.

Retirez les vis Torx T8 du capot droit.

Vous verrez la mécanique du chargeur après avoir retiré le couvercle.

Retirez le capot supérieur, et voici le premier moteur à courant continu et son encodeur.

crwdns2944171:0crwdnd2944171:0crwdnd2944171:0crwdnd2944171:0crwdne2944171:0