crwdns2933423:0crwdne2933423:0

Sostituzione batteria Kindle Fire HD

crwdns2931527:0crwdnd2931527:0crwdnd2931527:0crwdnd2931527:0crwdne2931527:0

crwdns2936315:0crwdne2936315:0
crwdns2936321:0crwdne2936321:0
crwdns2931653:04crwdne2931653:0
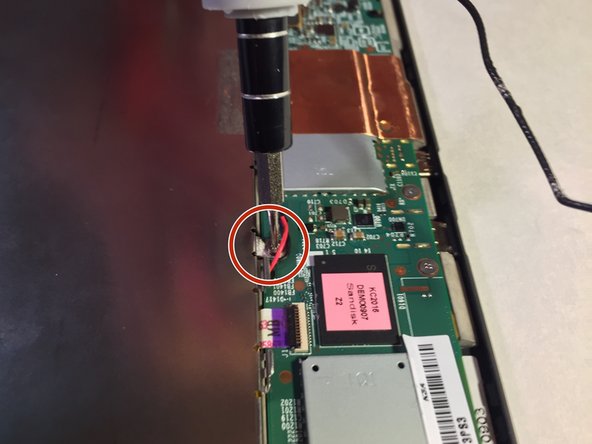
Kindle Fire HD Battery Replacement, Remove Screws: crwdns2935265:00crwdnd2935265:01crwdnd2935265:03crwdne2935265:0 Kindle Fire HD Battery Replacement, Remove Screws: crwdns2935265:00crwdnd2935265:02crwdnd2935265:03crwdne2935265:0 Kindle Fire HD Battery Replacement, Remove Screws: crwdns2935265:00crwdnd2935265:03crwdnd2935265:03crwdne2935265:0
Remove Screws
  • Locate and unscrew the four 3 mm screws using the Phillips #00 screwdriver.

  • Unscrew the one T5 Torx screw using the special T5 Torx screwdriver head.

  • The 2 mm T5 Torx screw is located on the motherboard near the antenna clip.

  • If you aren't equipped with the T5 Torx screwdriver, you could try using your fingers, although it will be very difficult to remove it.

Trova e svita le quattro viti da 3 mm con un cacciavite a croce Phillips #00.

Svita la vite da 2 mm con un cacciavite Torx T5.

La vite Torx T5 da 2 mm si trova sulla scheda madre vicino al gancio dell'antenna.

Se non hai un cacciavite Torx T5, puoi provare ad usare le dita, anche se sarà molto difficile svitarla.

crwdns2944171:0crwdnd2944171:0crwdnd2944171:0crwdnd2944171:0crwdne2944171:0