crwdns2933423:0crwdne2933423:0

Nintendo 3DS XLの分解 2015年版

crwdns2936315:0crwdne2936315:0
crwdns2936323:0crwdne2936323:0
crwdns2931653:026crwdne2931653:0
Nintendo 3DS XL 2015 Teardown: crwdns2935265:00crwdnd2935265:01crwdnd2935265:03crwdne2935265:0 Nintendo 3DS XL 2015 Teardown: crwdns2935265:00crwdnd2935265:02crwdnd2935265:03crwdne2935265:0 Nintendo 3DS XL 2015 Teardown: crwdns2935265:00crwdnd2935265:03crwdnd2935265:03crwdne2935265:0
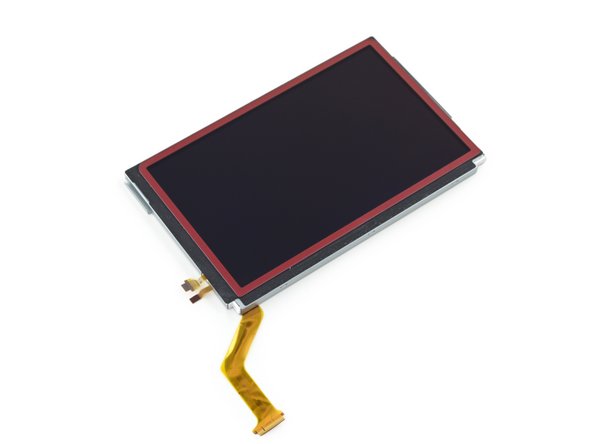
  • Good news: The display assembly is only mildly adhered to the frame, meaning we can pop it free with little effort.

  • Bad news: Its ribbon cable, and two others, are routed through the hinge, and need to be rolled up and pulled through in a horrible, painstaking, risky maneuver.

  • But then it's free!

良いニュース:ディスプレイアセンブリはフレームに軽く接着されているだけなので、比較的簡単にフレームを開けることができます。

残念なニュース:そのリボンケーブルと他の2本のケーブルはヒンジを通って配線されており、これを巻き戻すには大変骨の折れる、危険が潜んでいる作業です。

でも、なんとか無事にケーブルを外せました!

crwdns2944171:0crwdnd2944171:0crwdnd2944171:0crwdnd2944171:0crwdne2944171:0