crwdns2933423:0crwdne2933423:0

Auseinanderbau einer Nintendo 64 Kassette

crwdns2936315:0crwdne2936315:0
crwdns2936319:0crwdne2936319:0
crwdns2931653:03crwdne2931653:0
Disassembling Nintendo 64 Cartridge: crwdns2935265:00crwdnd2935265:01crwdnd2935265:03crwdne2935265:0 Disassembling Nintendo 64 Cartridge: crwdns2935265:00crwdnd2935265:02crwdnd2935265:03crwdne2935265:0 Disassembling Nintendo 64 Cartridge: crwdns2935265:00crwdnd2935265:03crwdnd2935265:03crwdne2935265:0
  • The only thing holding in the board is the plastic shield on the bottom of the cartridge. No screws are holding it in and is easily removed.

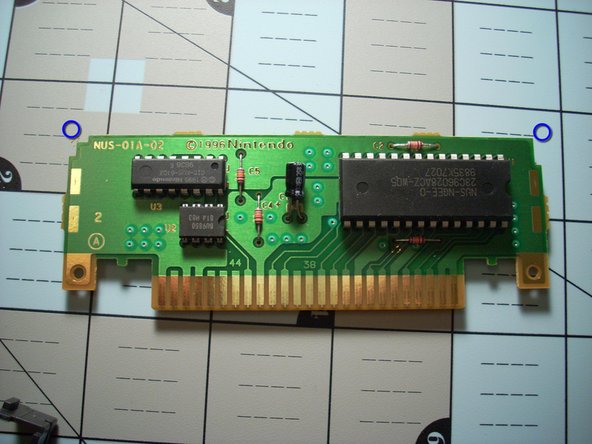
  • Now you can fully take out the cartridge board from the casing.

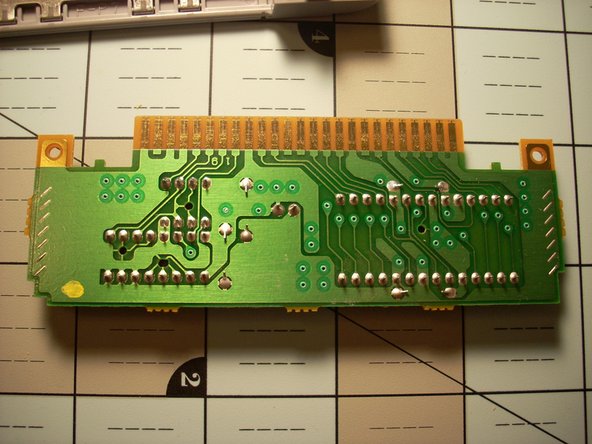
  • Here you can fully clean the pin set and inspect for damage to the circuit board.

  • NOTE: The top edges of the board are made asymmetrically so it can only go into the casing one way. Near the Blue Circles

Das Board wird von einer Kunststoffleiste auf der unteren Seite in der Kassette gehalten. Hier müssen keine Schrauben entfernt werden und der Ausbau ist einfach.

Jetzt kannst du die Platine vollständig aus dem Gehäuse entfernen.

Hier kannst du jetzt die Pins gut säubern und schauen, ob an der Platine Schäden bestehen.

BEACHTE: Die oberen Kanten der Platine sind asymmetrisch, sodass sie nur auf eine Weise ins Gehäuse passt. Markiert ist es hier mit blauen Kreisen.

crwdns2944171:0crwdnd2944171:0crwdnd2944171:0crwdnd2944171:0crwdne2944171:0