crwdns2935425:014crwdne2935425:0
crwdns2931653:014crwdne2931653:0


-
Two T10 Torx screws secure the LED unit to the end of the display assembly.
-
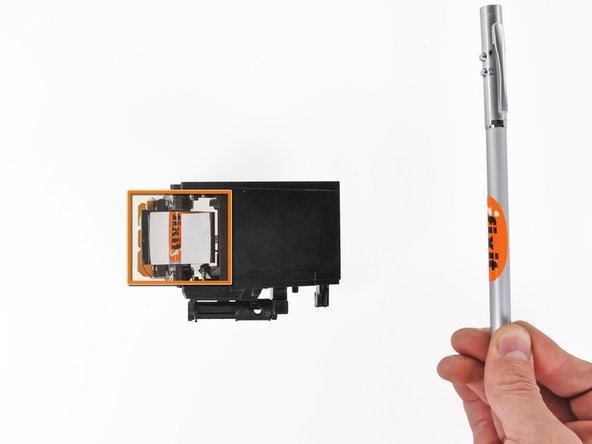
After the LED unit is removed, you can see the "periscope" style reflection and slight magnification caused by the 45o mirror and the internal lens.
crwdns2944171:0crwdnd2944171:0crwdnd2944171:0crwdnd2944171:0crwdne2944171:0