crwdns2933423:0crwdne2933423:0

任天堂 バーチャルボーイの分解

crwdns2936315:0crwdne2936315:0
crwdns2936323:0crwdne2936323:0
crwdns2931653:014crwdne2931653:0
Nintendo Virtual Boy Teardown: crwdns2935265:00crwdnd2935265:01crwdnd2935265:02crwdne2935265:0 Nintendo Virtual Boy Teardown: crwdns2935265:00crwdnd2935265:02crwdnd2935265:02crwdne2935265:0
  • Two T10 Torx screws secure the LED unit to the end of the display assembly.

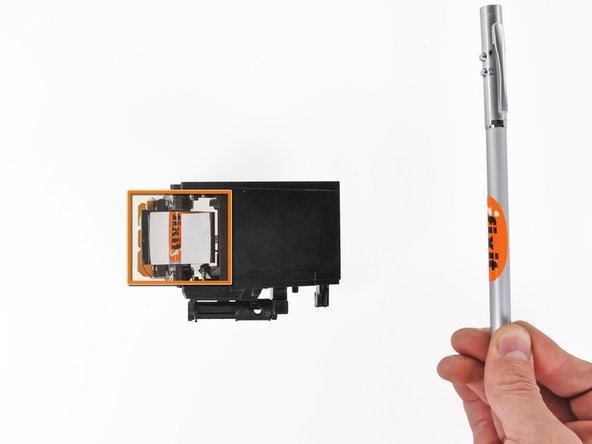
  • After the LED unit is removed, you can see the "periscope" style reflection and slight magnification caused by the 45o mirror and the internal lens.

LEDユニットをディスプレイアセンブリの先端に固定している、T10トルクスネジを2本外します。

LEDユニットが外れると、”ペリスコープ(潜望鏡)”による反射と、45度のミラーと内部レンズによって、イメージ (iFixitロゴ)がわずかに拡大しているのが分かります。

crwdns2944171:0crwdnd2944171:0crwdnd2944171:0crwdnd2944171:0crwdne2944171:0