crwdns2935425:08crwdne2935425:0


-
Plug in Soldering iron and wait for it to heat up.If your soldering iron has a dial, adjust the setting somewhere between 15 and 40 Watts .
-
Next position prepped battery wires to the same spot where the previous wires were removed from.
-
Then Touch the soldering iron to the twisted copper wire for about a second to heat the wire.
-
Next, touch the solder to the soldering iron, so that a small amount of solder melts and forms a small bead between the surfaces being connected. (Avoid pooling of solder material by keeping this step between 3-4 seconds)
-
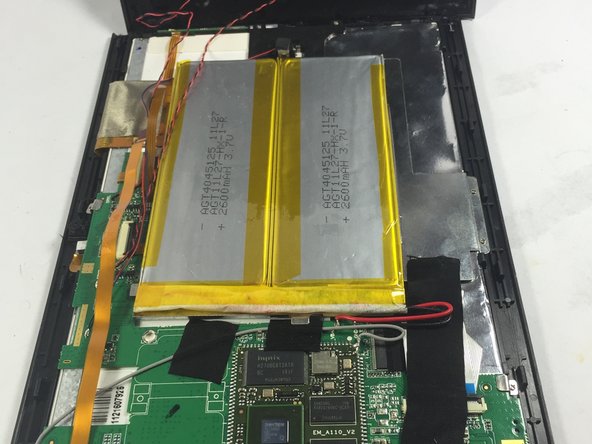
Repeat this step for the second wire. Secure new battery and place it in the position the original battery was in. Secure using the device tape, and screws.
crwdns2944171:0crwdnd2944171:0crwdnd2944171:0crwdnd2944171:0crwdne2944171:0