crwdns2931529:0crwdnd2931529:0crwdnd2931529:0crwdnd2931529:03crwdnd2931529:0crwdne2931529:0
crwdns2935425:01crwdne2935425:0
crwdns2931653:01crwdne2931653:0

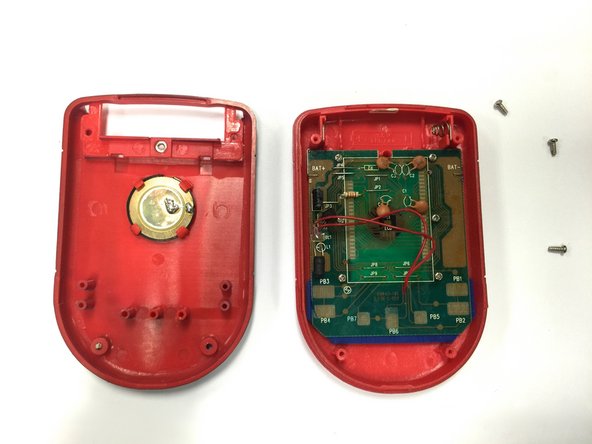


Removing/Replacing the Back Casing
-
Using a Phillips head screwdriver, remove the four (7.1mm- length) #3 screws that hold the back casing in place.
-
Carefully remove the back casing.
crwdns2944171:0crwdnd2944171:0crwdnd2944171:0crwdnd2944171:0crwdne2944171:0